
To me, the perfect cheesecake is creamy yet not too dense and a bit tangy. And don’t forget that crust- a sweet, buttery crust brings everything together. You’ll find all of these things in these Healthy-ish Pumpkin Cheesecake Bars. Why healthy-ish? The whole batch only has 1/3 cup of sugar total- it’s not much, but trust me- it will still be plenty sweet. It also helps all of the other flavors come through.
While this recipe is actually quite simple, cheesecake can be tricky. I’ve done soooo many trials of cheesecake (and this specific recipe in particular) that thinking about it makes my head spin. There are lots of little details that don’t necessarily require more time but do require attention if you want the perfect final product.

The Perfect Pumpkin Cheesecake Bars: It’s all in the Details
By nature, cheesecake can be a bit finnicky. If you go the real traditional route, you’ll find yourself using a springform pan and waterbath. My goal was to design a recipe that didn’t require either: partly out of necessity (I currently don’t have a springform pan) and laziness (I just didn’t want to pull out another pan and make a waterbath). I also love the idea that they are easier to serve because they are in the form of a bar, rather than a cake slice. Let’s go through the details that really matter and you want to pay attention to.
1. Room Temperature Ingredients
- Make sure your creamcheese, sourcream, and eggs are fully at room temperature before mixing. Failing to do this is the biggest reason why you may get a filling that has lumps and isn’t perfectly smooth.
- Continuing to mix won’t fix the problem if ingredients are too cold. I say this from first hand failures. For some recipes like a buttercream, continually mixing will eventually even out the temperature. Not here. I’ve also read that overmixing adds in too much air, causing the cheesecake to collapse and break more easily.
- Microwave in 30-45s increments at a power setting of 2 or 20%. I pretty much never have the patience to let my ingredients sit on the counter to get to room temperature, so I use the microwave. Be careful here! Don’t overheat. You still have to be a bit patient. Microwave in intervals (30-45s) and after each time, briefly mix with a spatula to check on it and also move it around because the bottom heats more quickly. This usually requires about 5-6 intervals and is a bit annoying, but will speed up the process of getting them to room temperature and you’ll thank me in the long run.
2. Parchment Paper
- Line the pan with parchment paper. It’s the secret to not needing a springform pan. With it, you can easily remove your cheesecake from the pan.
- How: Use two pieces of parchment paper– one going lengthwise and one going widthwise. Cut the parchment paper so a bit goes over the side so you can use it as a sling.
- Why parchment over foil: it gives you a cleaner and smoother edge. You can use foil, but it won’t look as nice.
- Lightly spray the pan with oil before adding the parchment to help the parchment easily attach to the pan and get that smooth edge.
- If you have them, use metal clips (not plastic!!) to hold the parchment in place onto the pan and make sure it doesn’t fall into the cake (I have had this happen before- it’s not a huge deal, but doesn’t look great). Using metal clips mean you can keep them on while in the oven. I saw this trick on instagram but sadly can’t remember who so I can’t give proper credit!
3. Your Baking Dish
- Use a square 8×8 or 9×9 metal pan.
- Square Pan: I love using a square pan because it makes it easier to pre-cut and serve these bars. They are easier to transport and you can have a smaller serving size so if serving this at Thanksgiving, someone could take a square along with another dessert (yes, I will 100% be that person). The square pan also make the parchment sling easy.
- Metal over glass: Metal conducts heat quicker and more evenly. You may be able to use glass, but it will affect cooking time and I can’t attest to the times or product using glass.
- You can use a cound cake pan too, but then I’d probably use a springform because it’s hard to create a parchment sling in a circular pan.
- I have tested this in a mini 6×6 pan and it also works great! See below for details.
4. Gradual Temperature Changes
- Do everything you can to gradually cool the cake. Big and quick temperature changes= cracks in the cheesecake. This is actually the reason why many recipes call for a waterbath- it helps keep the temperature uniform. Could you use one here? I don’t see how it could hurt, but I’ve never used it on any of my trials. Instead, I take a cue from Alison Roman in how I remove the cheesecake from the oven to try to slowly bring the temperature of the cheesecake from oven to fridge. Here’s how:
- Bake at a low temperature (325).
- Once done, don’t remove the cheesecake. Keep in the oven with the door slightly ajar for another 20 minutes.
- Make sure the cheesecake fully cools at room temperature before putting in the fridge.
5. Bake Time= Texture
- My last tip is a bit more flexible and depends on your personal preferences. A few minutes of bake time can substantially change the texture of the cheesecake.
- If you prefer a more firm cheesecake (may be good if you are transporting them), bake on the longer range (about 22-23 minutes); the cheesecake should only wobble a bit.
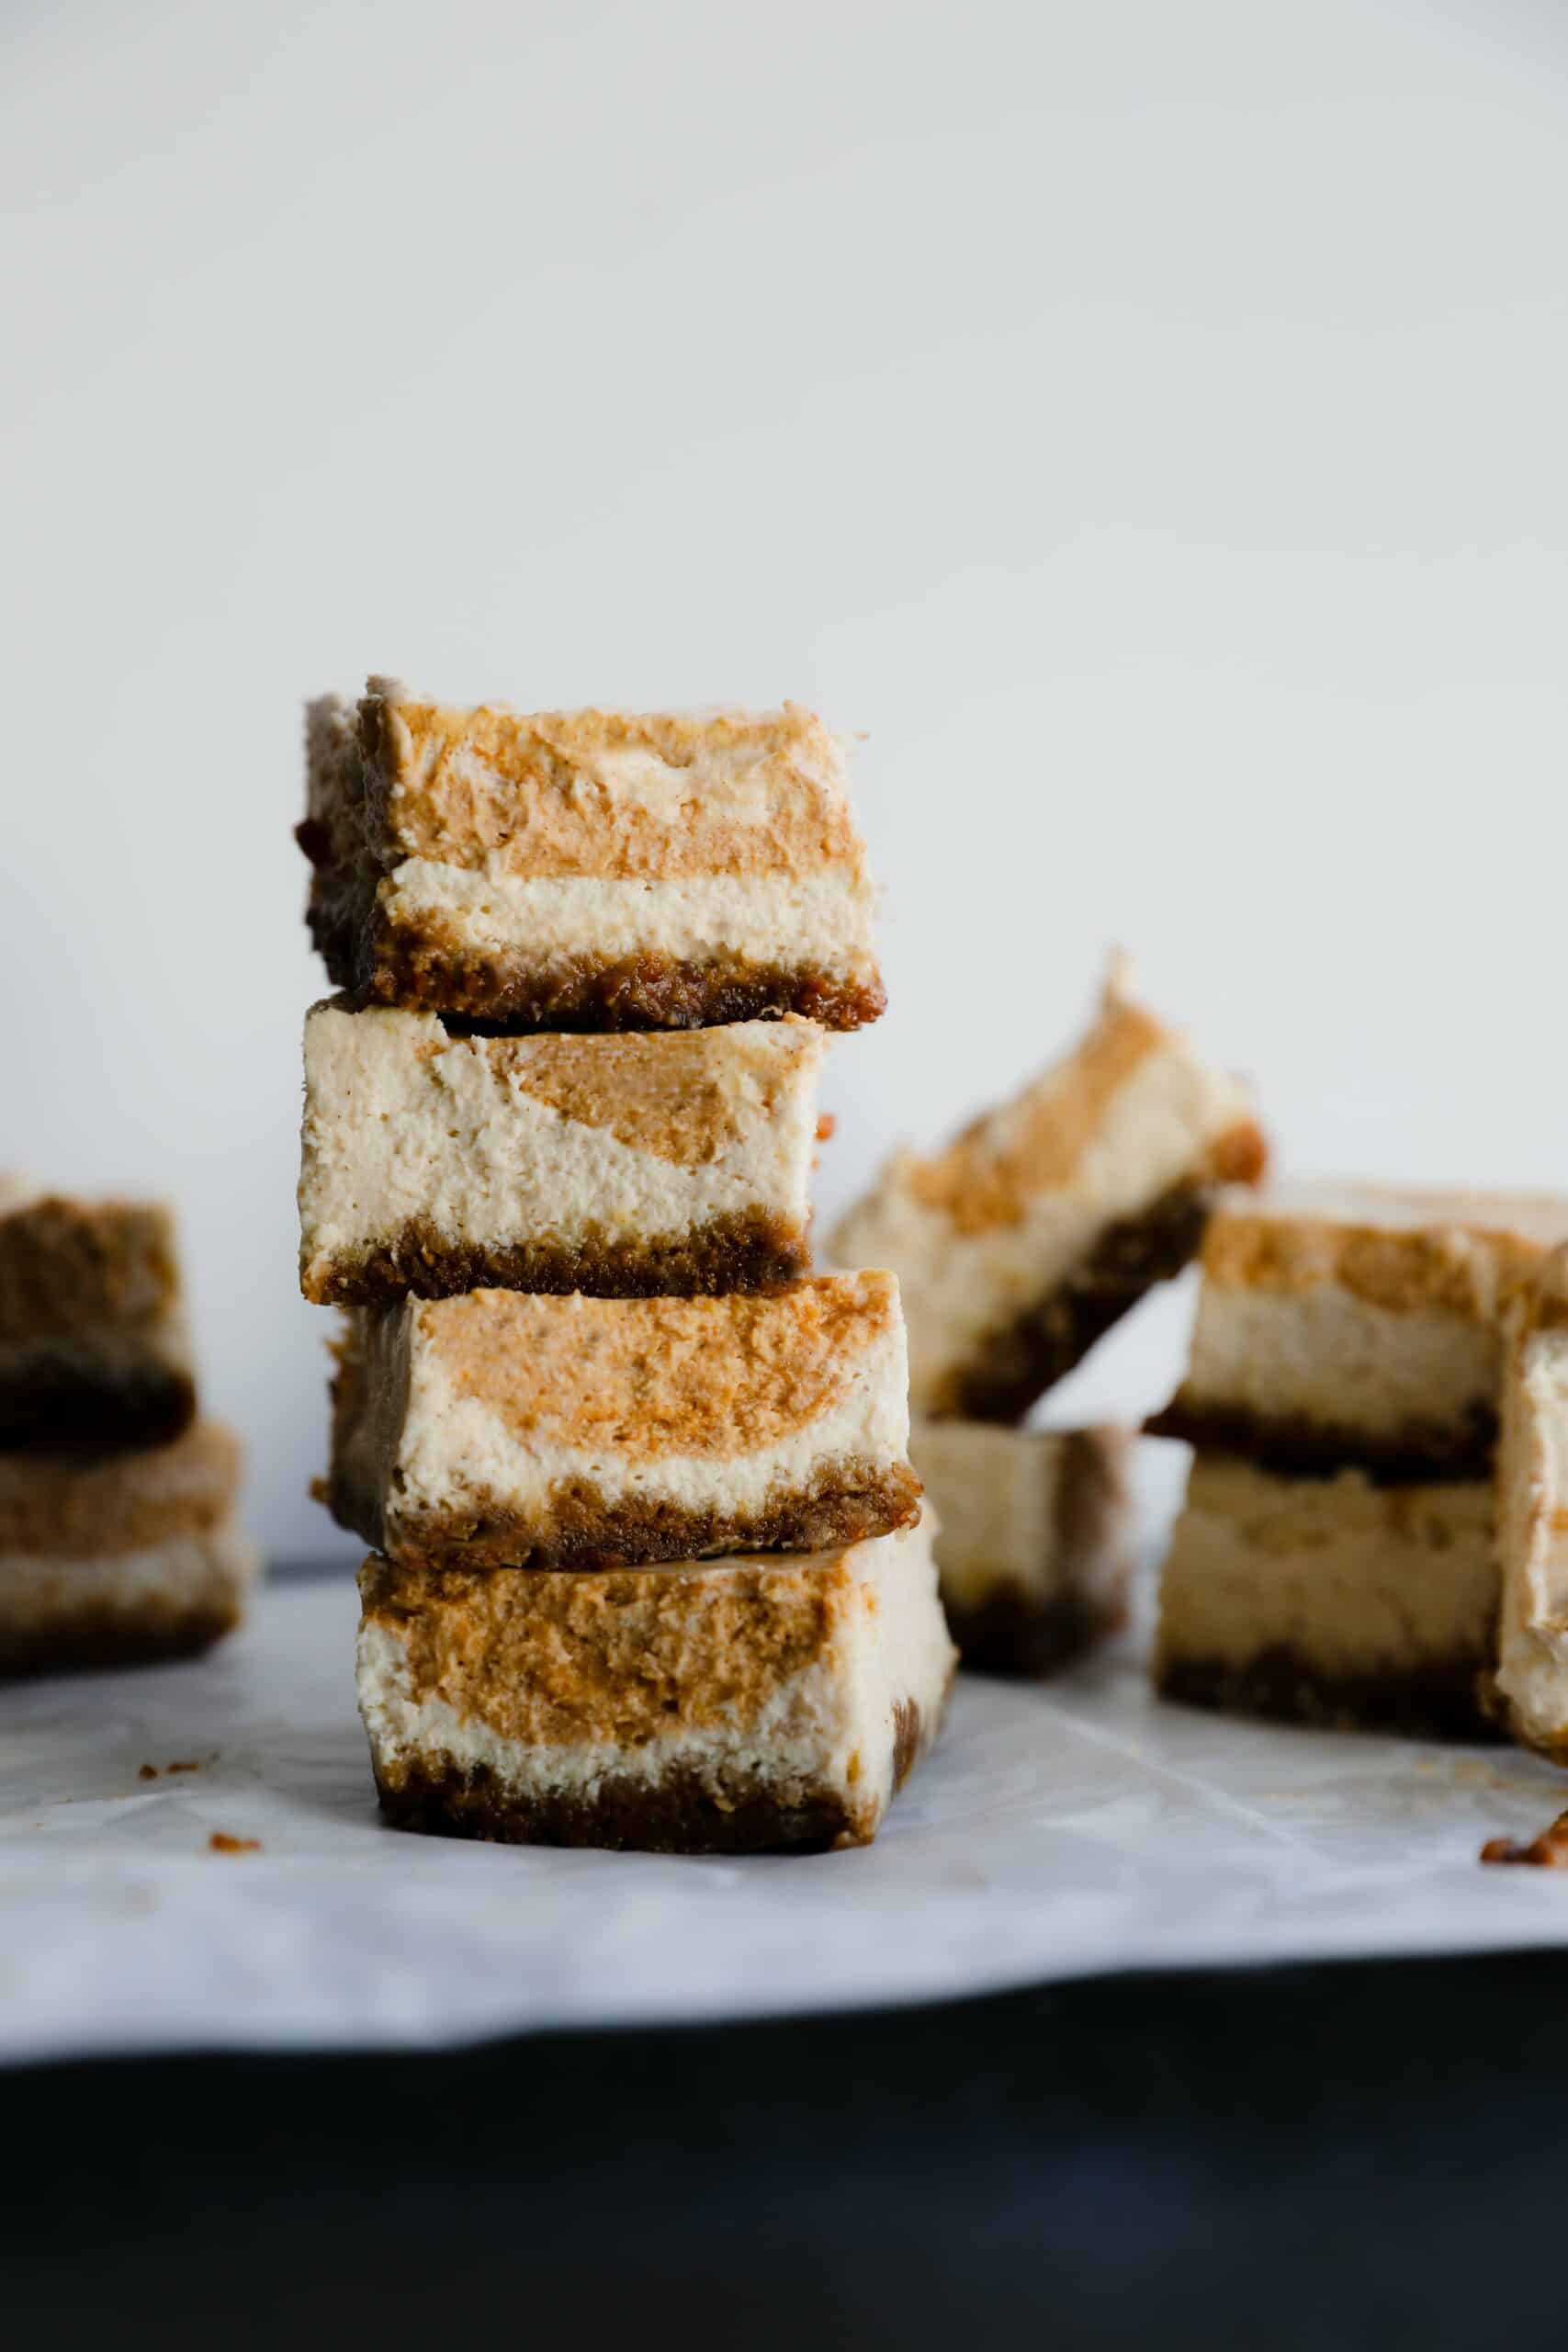
- If you prefer a creamier, softer cheesecake, bake on the shorter range (about 20 minutes); the cheesecake should jiggle and wobble a bit more, especially in the center. I personally like the creamier texture, but it is a bit messier to cut.
- See pictures below for some guidance on the two.

Softer, creamier texture- 20 min baking time 
Firmer texture- 22-23 minutes baking time.
Make a Small Batch
- For smaller households, maybe you don’t need 16 Pumpkin Cheesecake Bars. Good news: you can easily make a smaller batch.
- Just use this cute little 6×6 pan to make these bars in smaller batch. Just half all of the ingredients and keep the baking time closer to 18-20 minutes. Everything else stays the same. While I originally tried this is a loaf pan and technically you can do this, I prefer this 6×6 pan.

Healthy-ish Pumpkin Cheesecake Bars
Crust:
- 5.5 ounces (75 grams) gingersnap cookies
- 5.5 ounces (75 grams) Elizabeth’s pumpkin granola, (you can also do entirely gingersnap cookies and add in another 75g of cookies)
- 2 tablespoons unsalted butter,, melted
- pinch salt
Filling:
- 1 pound cream cheese
- 4 oz sour cream
- 2 teaspoons vanilla extract
- 2 eggs
- 1/3 cup+ 1 tablespoon (78g) sugar
- 3/4 teaspoon diamond kosher salt (if using any other salt, use half the amount)
- 1 teaspoon fresh lemon juice
- 1/4 tsp pumpkin pie spice
- 1/2 cup pumpkin puree
- 1 teaspoon pumpkin pie spice
- Preheat oven to 350 and prepare a 9×9 or 8×8 square baking dish with parchment paper (see above for details on how).
- Place gingersnap cookies and granola in food processor and grind until fine in texture.
- Add butter to a medium, heat-proof bowl and melt by microwaving for about 20-30s. Add in ground-up gingersnap cookies and a pinch of salt. Combine with your hands until you have the texture of wet sand.
- Press crust into parchment-lined pan until you have an even layer. Bake until golden brown and fragrant, about 8-10 minutes. Set aside to cool slightly before adding in cream cheese mixture.
- Add room temperature cream cheese and sour cream to large heat-proof bowl (see my SUPER IMPORTANT note above about making sure these are at room temperature- this is KEY). Cream with a handheld mixer until smooth, about 30 seconds or so.
- Add in sugar, eggs, vanilla, lemon juice, and salt. Cream again for another 30 seconds or so, until smooth and uniform.
- Remove about 1/2 cup of the mixture and place in a small bowl. Add in pumpkin puree and pumpkin spice and beat with handheld mixer until smooth.
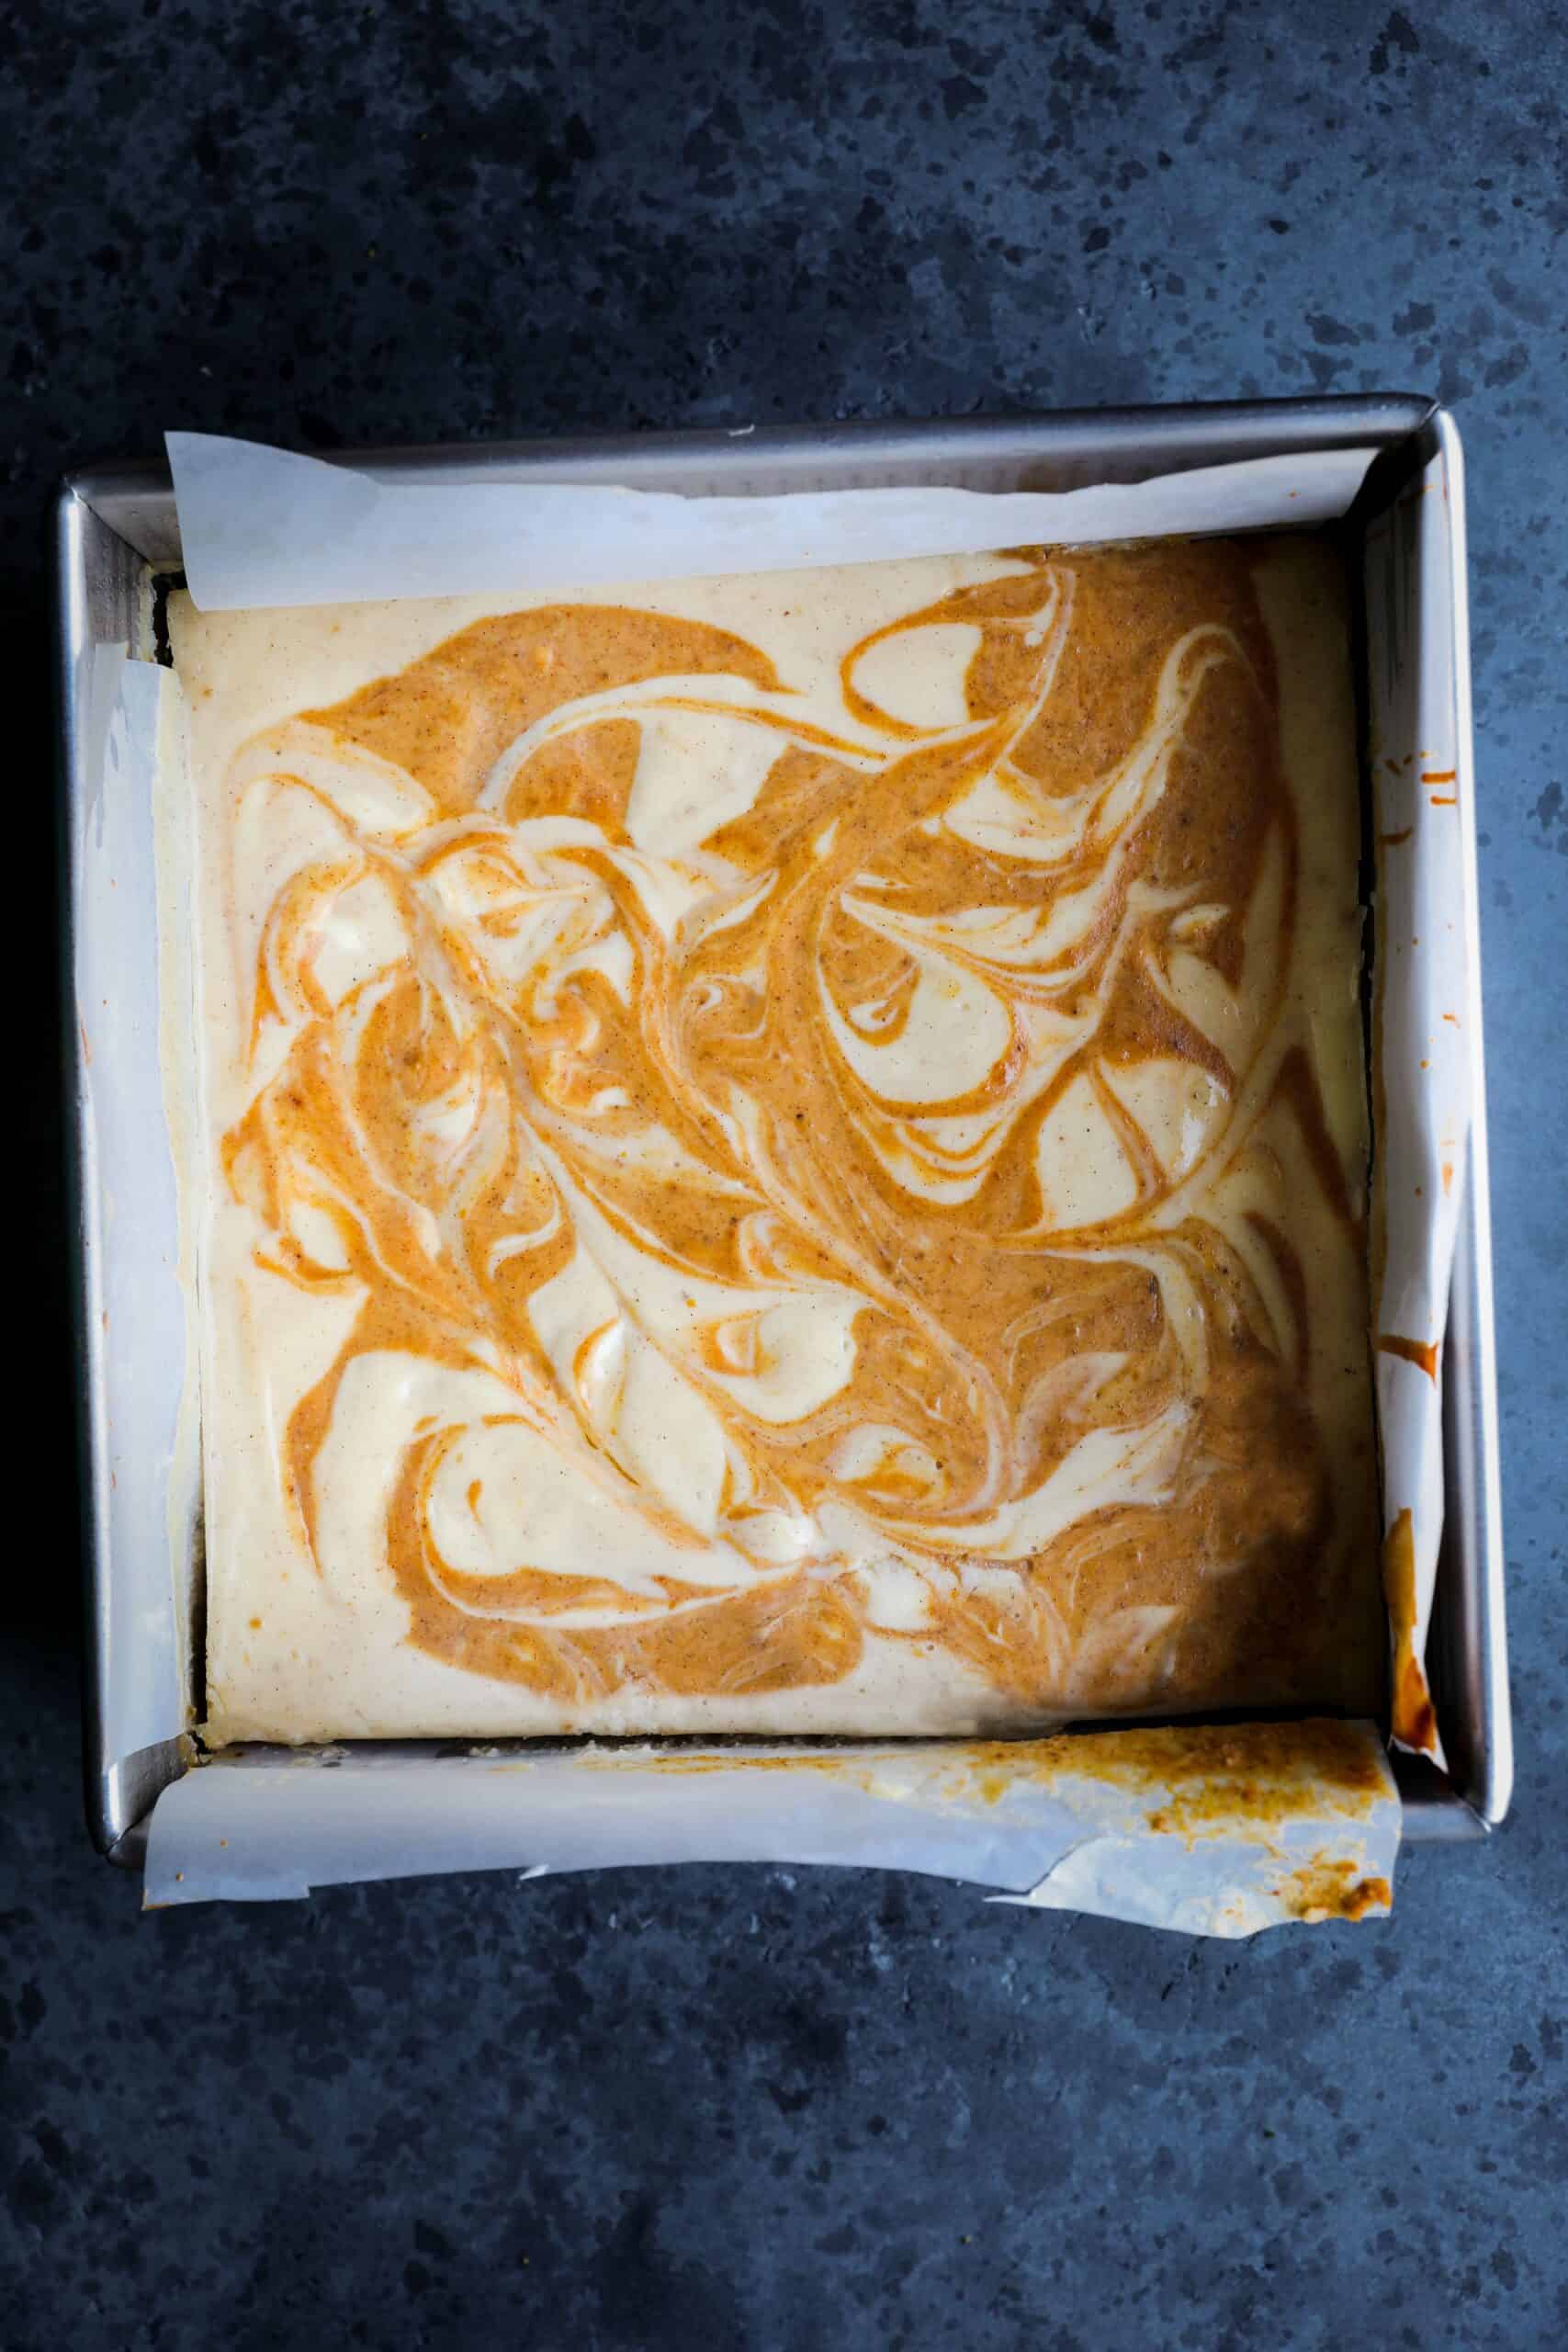
- Pour about 5/6 of the white batter into the pan. Then add the pumpkin mixture on top, followed by the remaining white batter. Using a butter knife, gently use the tip of the knife to pull through and create a marble design on top.
- Lower oven temperature to 325. Place cheesecake in oven and bake 20-24 minutes, until the outside has set and the inside wobbles just a bit (see above note for why I have a range and the difference). Once done, DO NOT remove the cheesecake. Turn off oven and let cheesecake sit in oven with the door slightly ajar for another 20 minutes.
- Remove cheesecake and let sit at room temperature until fully cool before placing in fridge, covered with foil or plastic wrap, for at least 5-6 hours (I personally like to do this the day before serving just to be safe).