
I tried this method of roasting gnocchi about a month ago and have been pretty (okay, REALLY) obsessed with it since. Especially when I had just moved and had pretty much nothing in my apartment kitchen but wanted to cook a meal. It’s about as simple as it gets. Minimal equipment and effort, maximum reward. All you need is a baking sheet. It’s as easy as making a salad, but so much more satisfying- for both the soul and stomach (especially for a dinner- I prefer having some warm component to my dinner). If you can use an oven, you can make this Sheet Pan Gnocchi. All you need to do is toss some veggies and gnocchi in olive oil, salt and pepper on a baking sheet. Bake for 20 minutes and at the very end, add some cheese until it melts.
The Technique: Baking Gnocchi
If you’re thinking… wait don’t you cook gnocchi like pasta? Like in boiling water? Well, the idea behind baking gnocchi to cook it is from Sarah Jampel at Bon Appetit. While I found the original recipe missing just a bit for me- some sort of boost of flavor or sauce was needed- I quickly saw the appeal of this technique. First, it’s SO easy; just toss the gnocchi in some oil and put it on the pan. Done. Second, the gnocchi is cooked and browned in the same amount of time as many vegetables, particularly those that are from late summer and early fall. This lends itself to an easy sheet pan meal. Third, it’s quite versatile. Quickly give this whole dish a whole new look by adding a new sauce like pesto. You can also play around with the vegetables that you use. See below for ones I’ve tried and recommend, although my current favorite September combo is this one: Sheet Pan Gnocchi with Blistered Green Beans & Summer Squash.
Behind the Recipe: Sheet Pan Gnocchi with Blistered Green Beans & Summer Squash
- Green Beans & Summer Squash: I’ve done this with lots of vegetables and you can totally play with different ones! Many will work. The reason why I like these two: 1. They are in season right now 2. They roast quickly. They’re also quite colorful.
- Other vegetables I’ve used successfully (feel free to mix and match):
- Cauliflower
- Zucchini
- Baby heirloom tomatoes
- Broccolini
- Other vegetables I’ve used successfully (feel free to mix and match):
- Gnocchi: I’ve done this with cauliflower gnocchi and potato gnocchi. You can do it with either- Matt and I both preferred the cauliflower gnocchi. We used this Whole Foods one.
- Parmesan/Cheese: Absolutely key in adding both flavor and a luxurious texture to round out this meal. I added this the second time I made this and never looked back. It’s SO GOOD. Seriously who doesn’t like melted cheese on top of anything?
- Red Onion: This adds some slightly acidic flavor that isn’t found anywhere else in the dish. It’s a small, but key component in balancing out this dish.
- Parchment Paper: I always use parchment paper when roasting because I find it results in the best browning. I’m not sure of the exact science behind this, but it just works! It also makes for easy clean up. You can also use foil if you don’t have parchment.
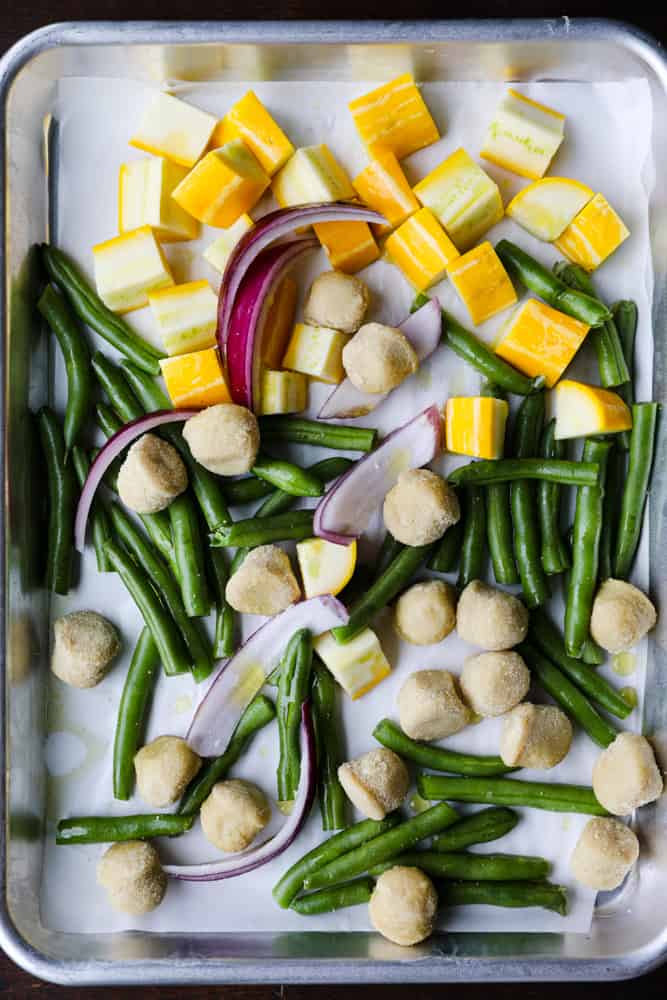
Before roasting 
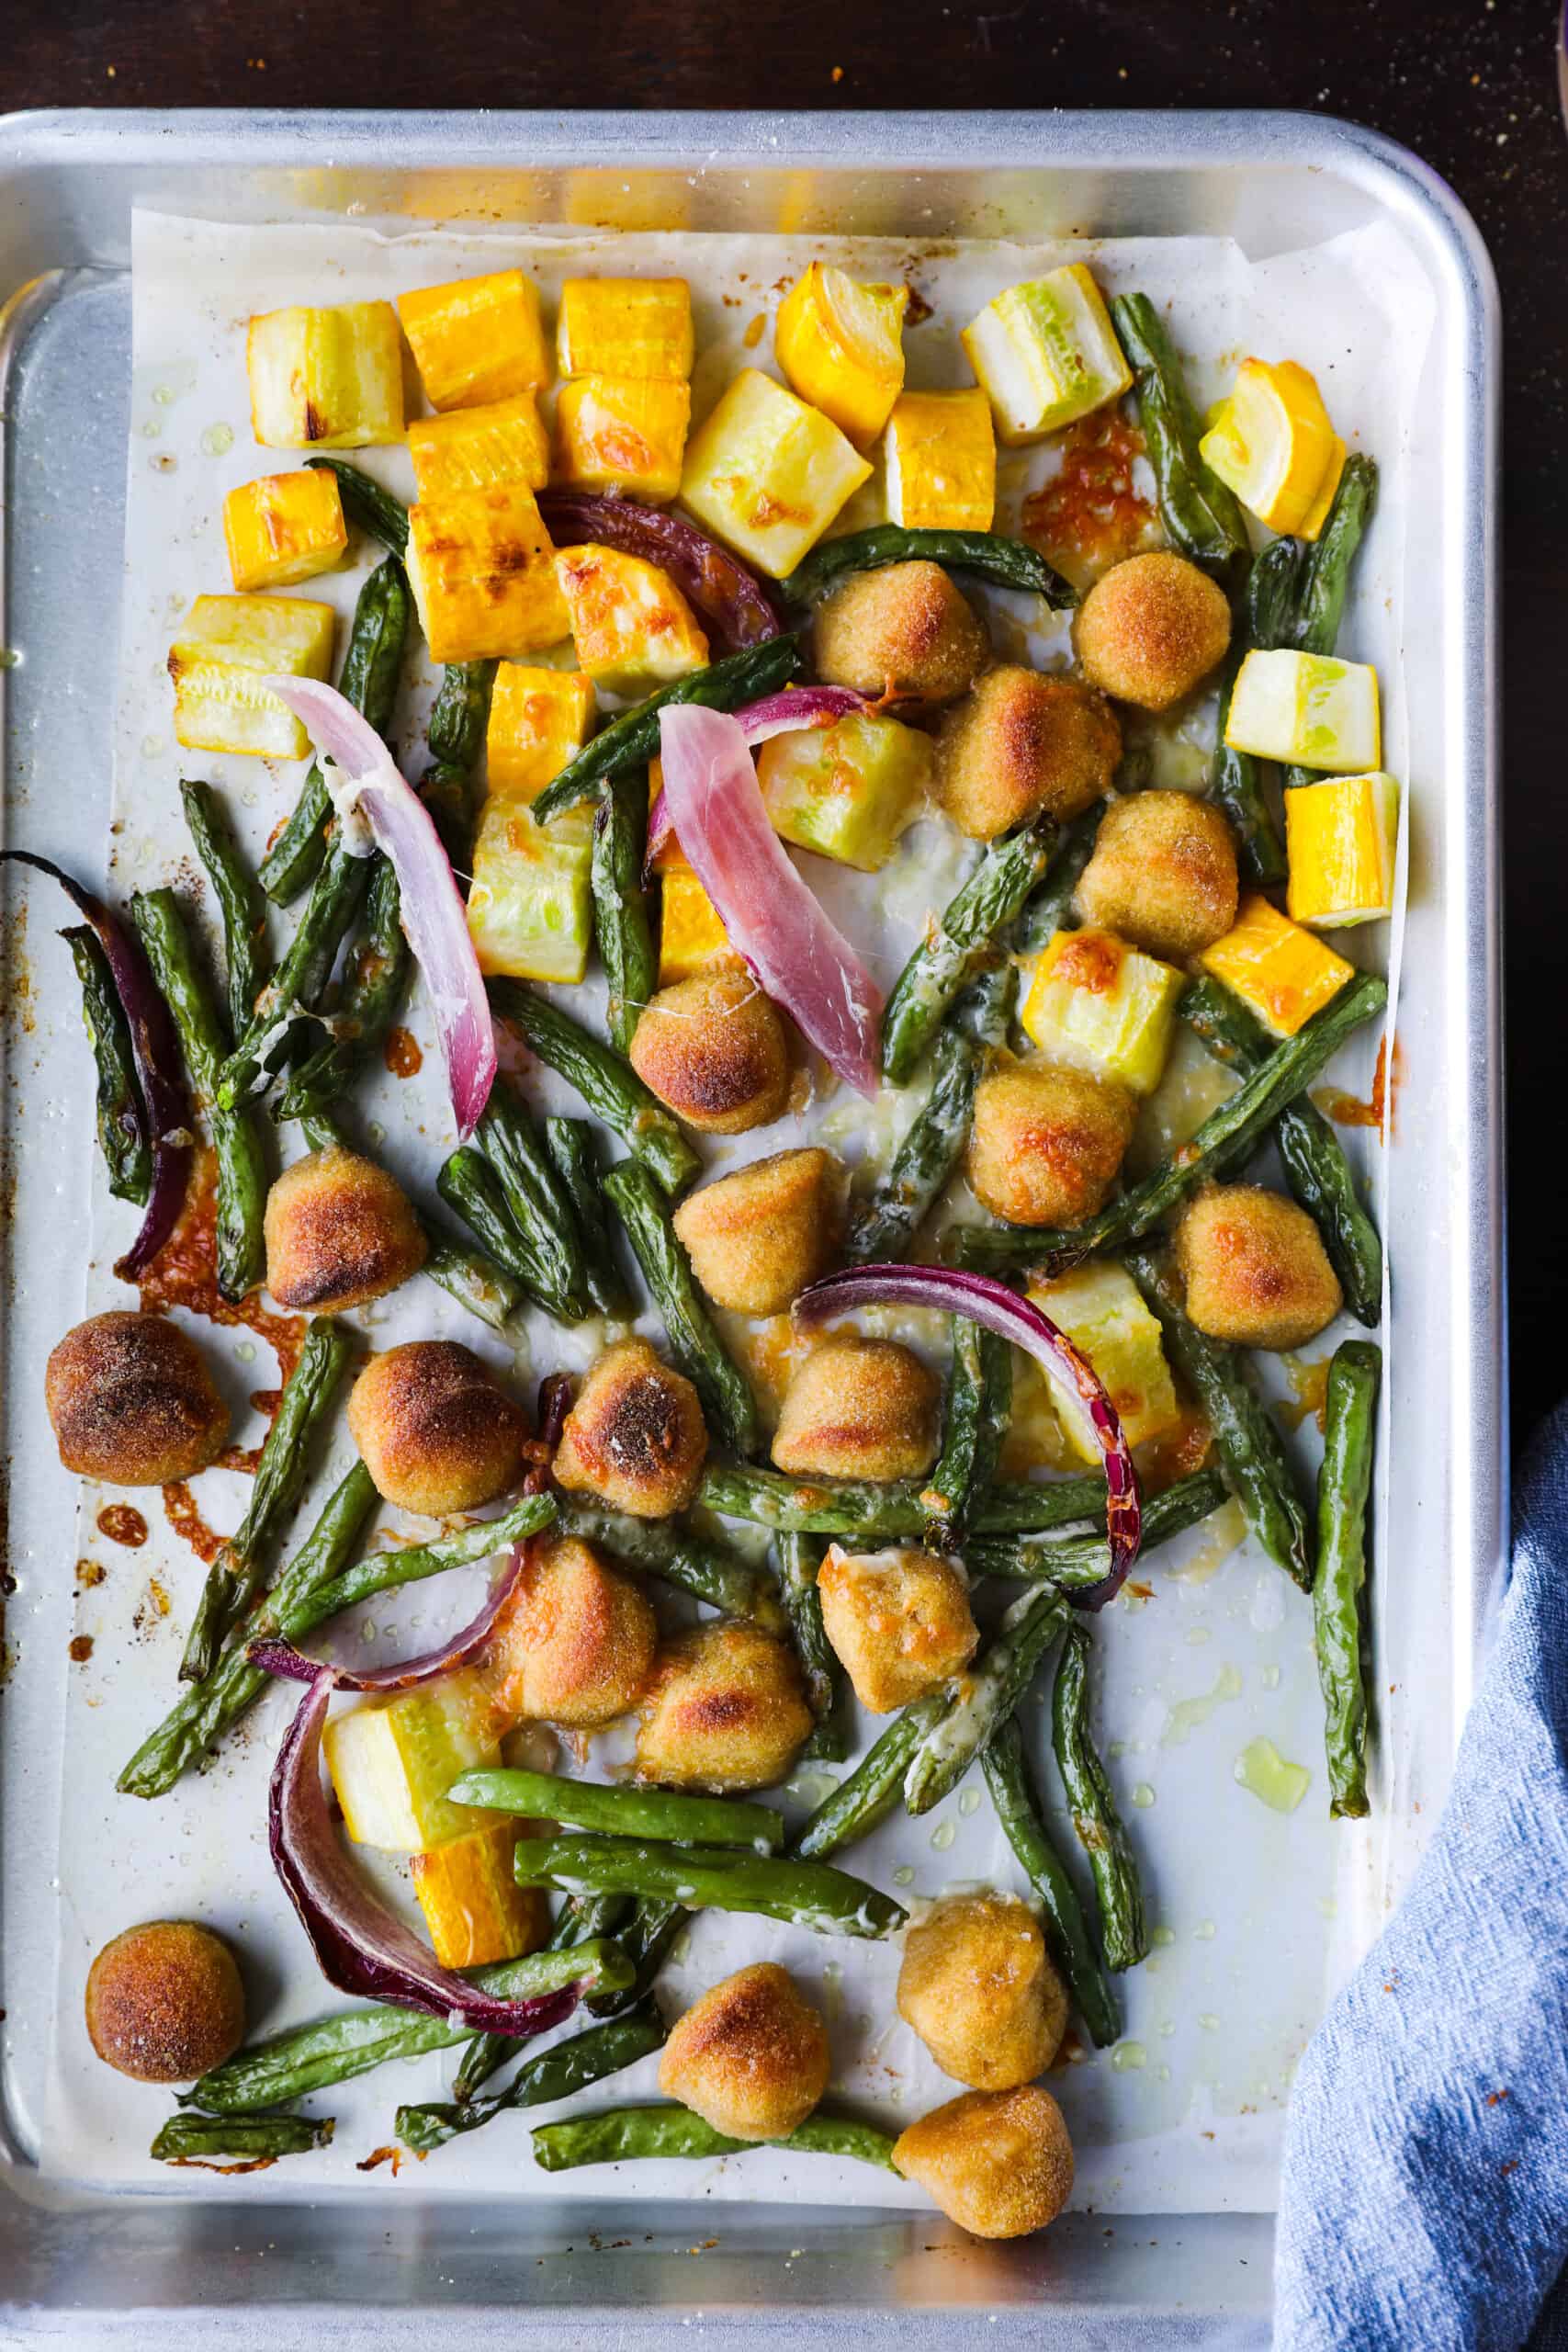
After roasting 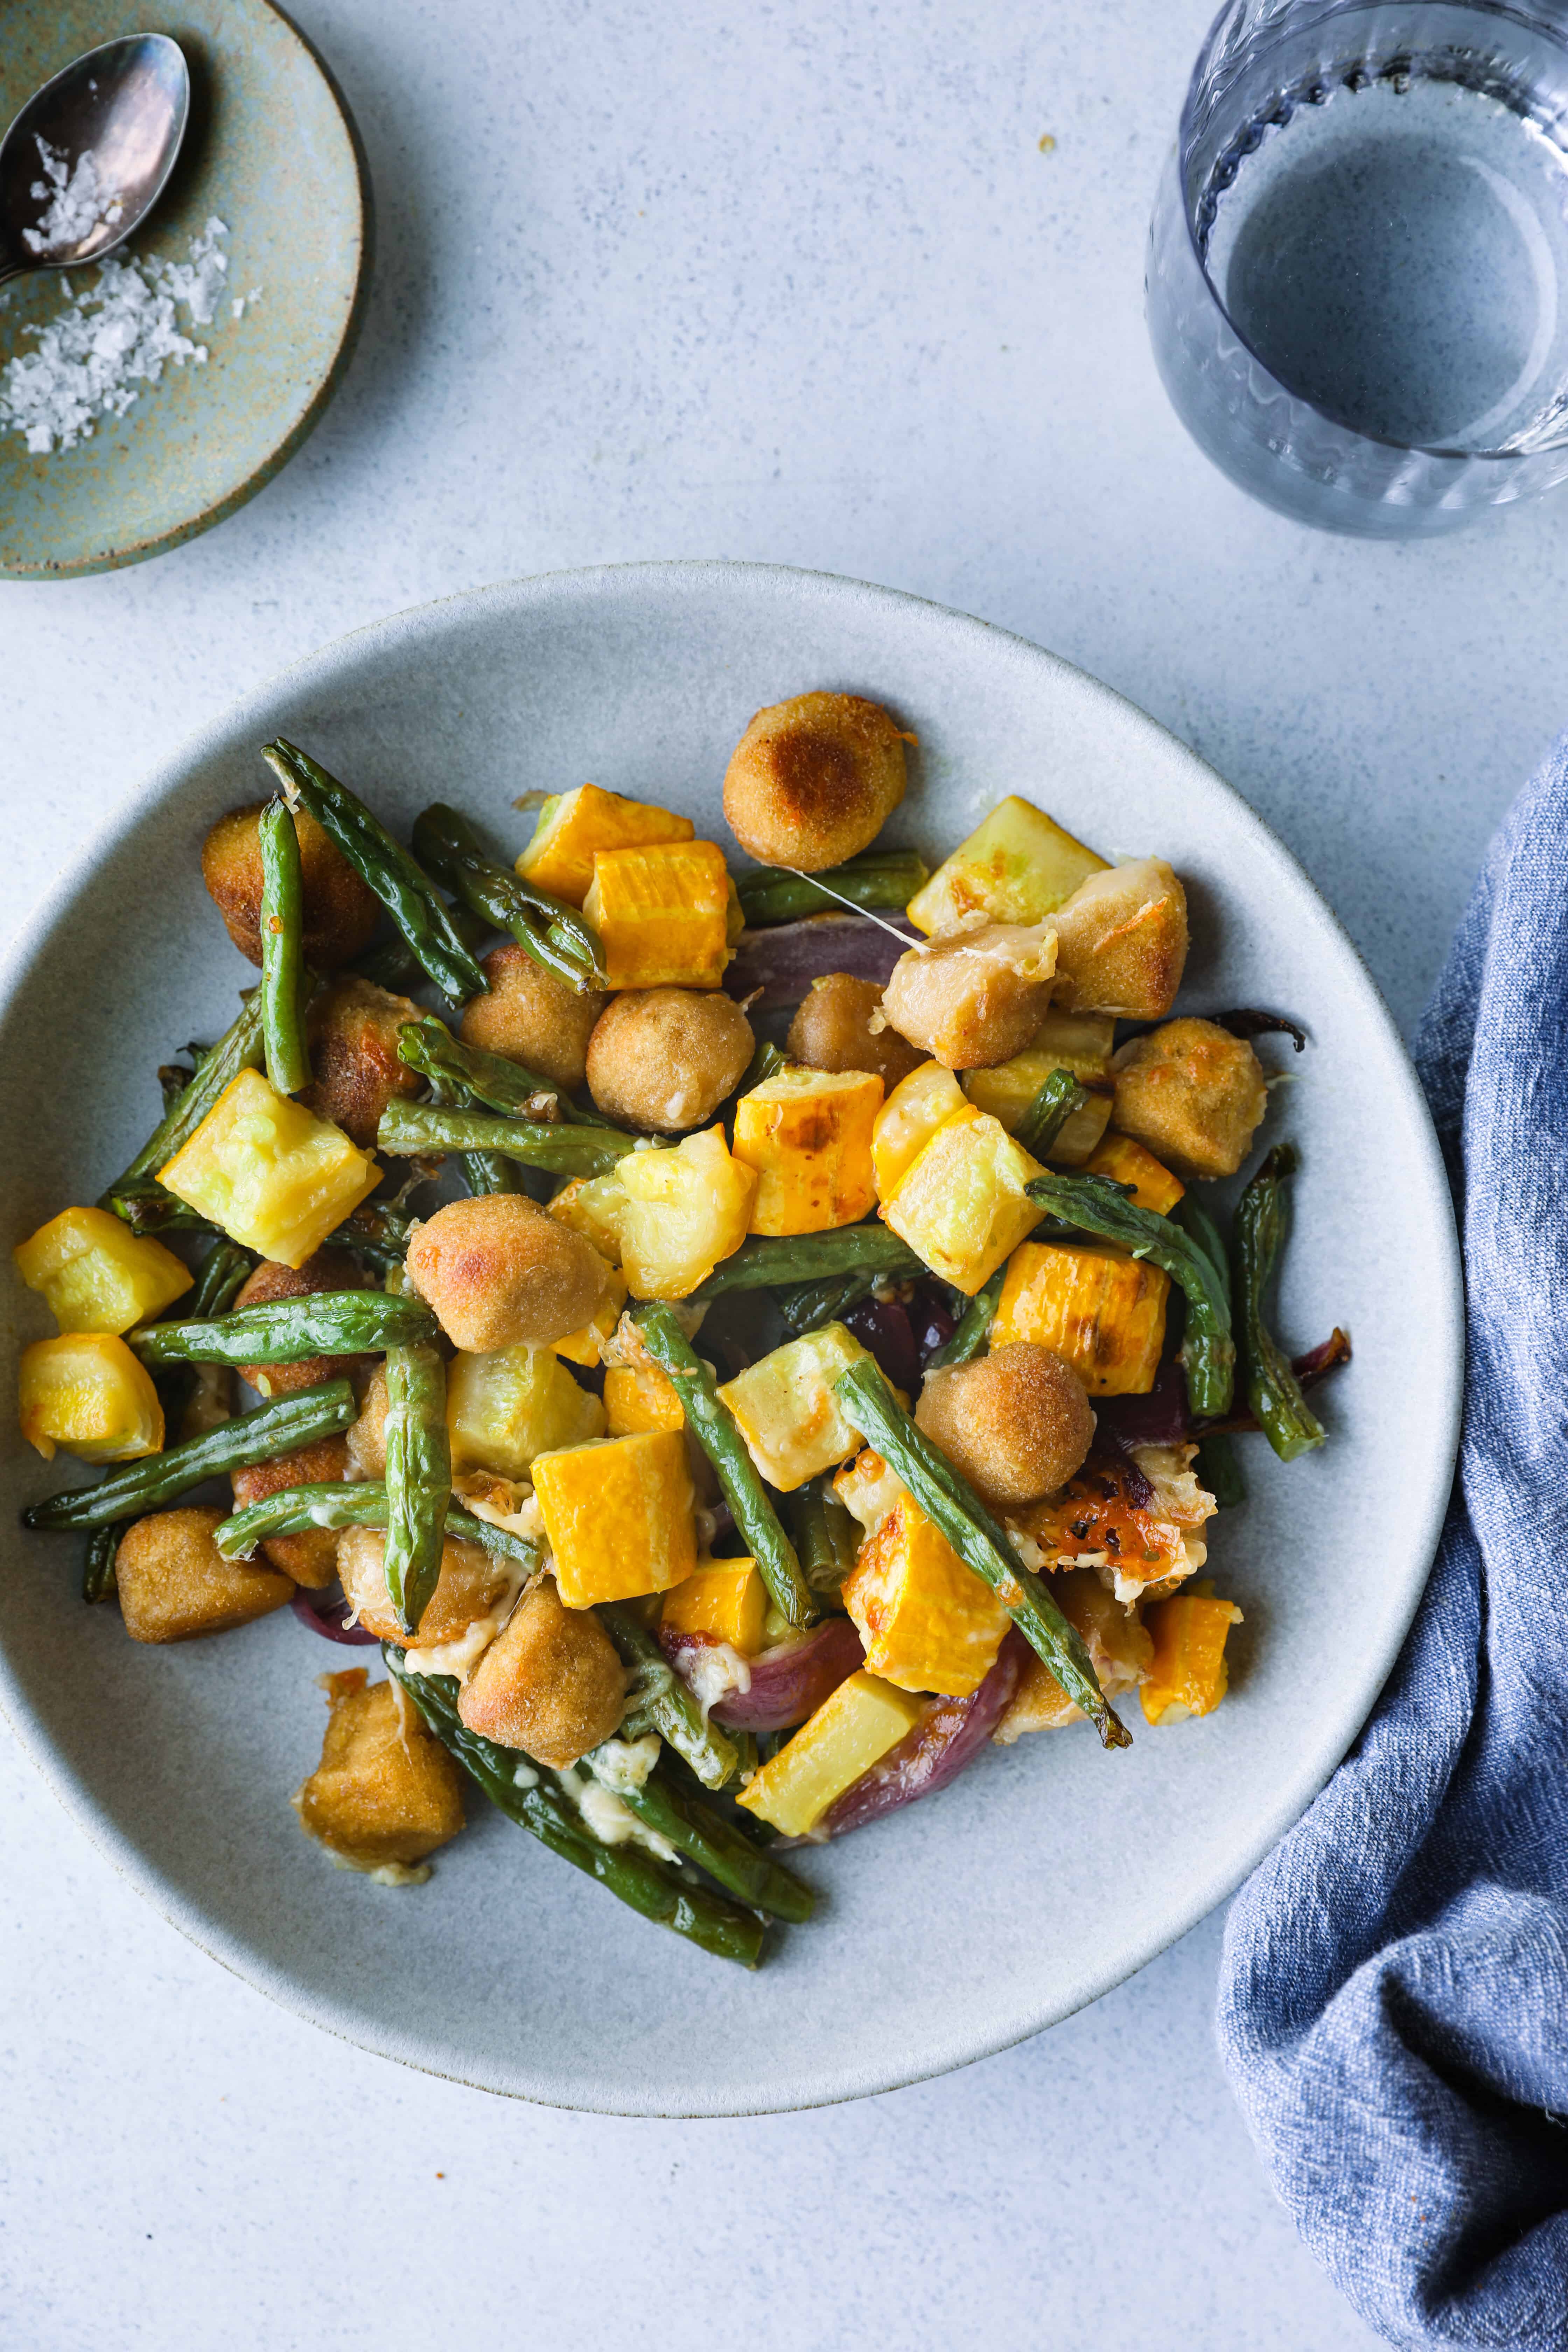
Served!

Sheet Pan Gnocchi with Blistered Green Beans & Summer Squash
- 8 ounces cauliflower gnocchi, , or other gnocchi of your choice
- 1 large or 2 small yellow summer squash, , sliced into planks and then cut into 2'' pieces
- 8 ounces green beans
- 1/4 red onion,, cut into 1/4'' slices
- 1 teaspoon kosher salt, or 1/2 teaspoon sea salt
- 1-2 tablespoons extra virgin olive oil
- optional: 1 tablespoon unsalted butter
- 1/4 cup parmesan or Whole Foods shredded Italian blend
- Preheat oven to 425.
- Line a baking sheet with parchment or foil. Add gnocchi, summer squash and green beans. Season with salt and extra virgin olive oil and toss to coat in oil. If using butter, cut into slivers and distribute on top of the vegetables.
- Roast until veggies are browned and gnocchi is beginning to brown, about 20 minutes. Remove from oven for a second to sprinkle on parmesan/cheese and then place back in oven for an additional 5-ish minutes on an upper rack (closer to the top- around 6'' from top), until cheese is fully melted. Serve.