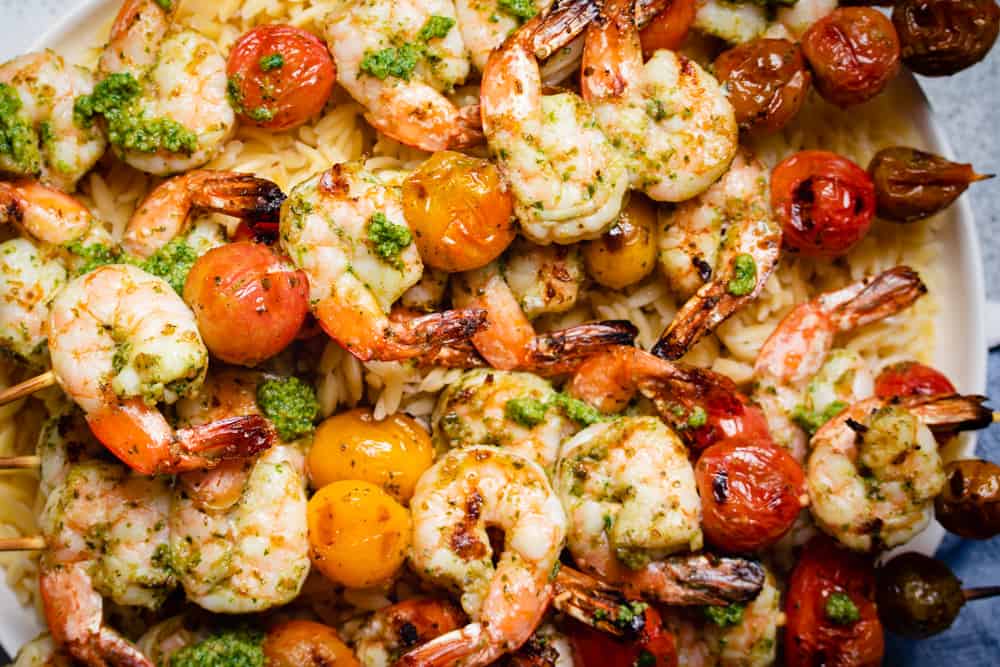
These Arugula Pesto Shrimp & Tomato Skewers hits the mark for a breezy summer meal. I love shrimp because it cooks so quickly and honestly- who doesn’t love some grilled shrimp? Make the arugula pesto ahead of time (even a day or two in advance) if you want to make this even easier when actually cooking dinner.
Behind the Recipe: Arugula Walnut Pesto
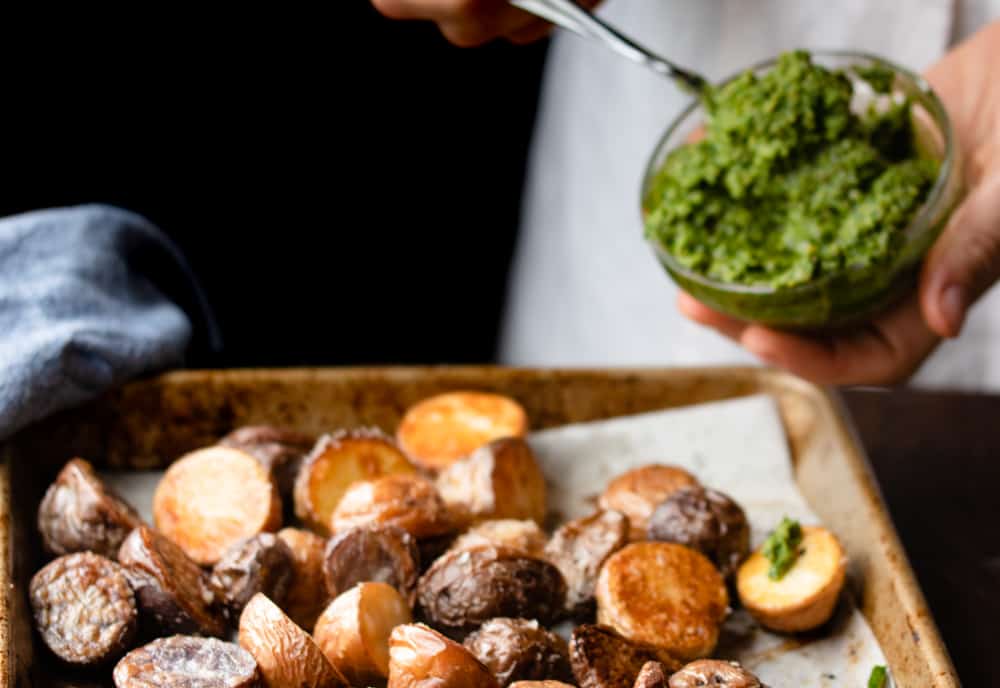
Pesto with arugula? Yes, it’s a thing. And you’ve been missing out. This is something I tried about a year ago, thanks to my mom. Not liking basil, she always passed on the pesto. However, she loved my pesto heirloom tomato tart I made last summer, so I wanted to find an alternative that would work for her that she would enjoy and others would too.
Arugula adds a peppery, fresh taste that still gives you all the herby essence of a pesto, just with a slightly different flavor. As I’ve made this time and time again over the past year, I’ve found that this has become a frequent go to because I almost always have arugula in my fridge. It’s a staple for salads and lasts a lot longer than basil. As much as I try to plan and be smart about my herb shopping, the number of times I’ve bought basil, forgotten to use in time and then sadly stare at its wilted leaves and realize I should have made pesto -2 days ago is far too many. Arugula lasts much longer, so if I want to make this on a whim or end up making this pesto a few days later than originally planned, it’s no problem at all.
To round out these arugula pesto shrimp & tomato skewers as a whole meal, you have a couple of options for some filling sides/grains:
- To keep everything to the grill: Grill up some bread. Slice some crusty baguette or bread (a crispy crust is key here) on a bias, oil or butter it up, and put it directly on the grill for a few minutes on each side. Serve with the extra arugula pesto.
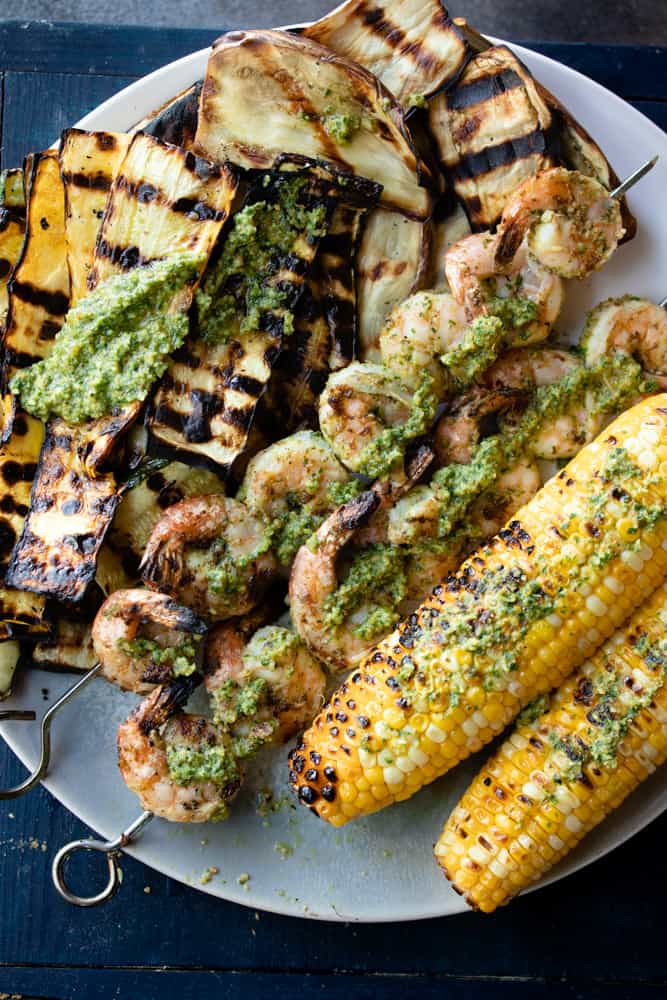
- To keep everything on the grill and veggie focused: Grill up some ears of corn, sliced eggplant and zucchini or summer squash (see below). While I usually add in a grain if cooking for others, this is my personal favorite.
- An easy make ahead option: A buttery orzo. This can be made earlier that day or even the day before. One crucial tip: Immediately toss in the orzo in a generous amount of olive oil or butter to prevent sticking. Also make sure your boiling water is well salted before adding in the orzo.
- A budget-friendly option that helps highlight the pesto: Whole wheat linguine. I prefer whole wheat here for a bit of flavor and texture, since I like to keep the pasta itself pretty simple. Like the orzo, make sure your pasta water is well salted. Reserve some of the pasta water and then add the reserved pasta water when adding in the pesto to help the pesto bind to the pasta and not be too thick. This one shouldn’t be done ahead of time in my opinion!
- If you’re like me, you’ll want to add another veggie. My go to: grilled zucchini. Grill on the other side of your grill when doing the shrimp. They’ll take around the same time if you do high heat.
Love these? You’d love this one too: Easiest Turmeric Lime Grilled Shrimp (Whole 30)

Arugula Pesto Shrimp & Tomato Skewers
- 1 pound shrimp, , cleaned and devined and with tails removed
- 1 pint cherry tomatoes or baby heirloom tomatoes
- 2 tablespoons + 1/2 cup for serving arugula pesto (see recipe below)
- 1 tablespoon olive oil
- 1 teaspoon kosher salt
- If using wooden skewers, soak in warm water for at least 30-60 minutes before grilling.
- Make sure shrimp are dry (pat dry with paper towels). Add shrimp and tomatoes to a ziploc bag or large plastic container. Add in pesto, olive oil, and salt. Toss to coat evenly. Let marinate for at least 20 minutes, ideally more like 30 minutes at room temperature. You can marinate for up to an hour- but if you are marinating more than 30 minutes, place them in the fridge.
- Preheat grill to medium. Thread shrimp and tomatoes onto skewers, alternating tomatoes and shrimp.
- Grill shrimp, flipping skewer once the grill-side down side is opaque, pink, and has a bit of char, about 2-3 minutes/side.
- Serve with additional pesto on the side. See above for my reccs on how to round out this meal!


