This is one of those recipes that’s a huge crowd-pleaser and almost everyone will love. Even for people who don’t like cheese much (e.g. me!) will find this a fun topping or snack. At first, you may be a little intimidated by a tuile–but don’t be. If you can shred cheese and turn an oven on, you can do it! I highly recommend this recipe for dinner parties or other events where you have guests.
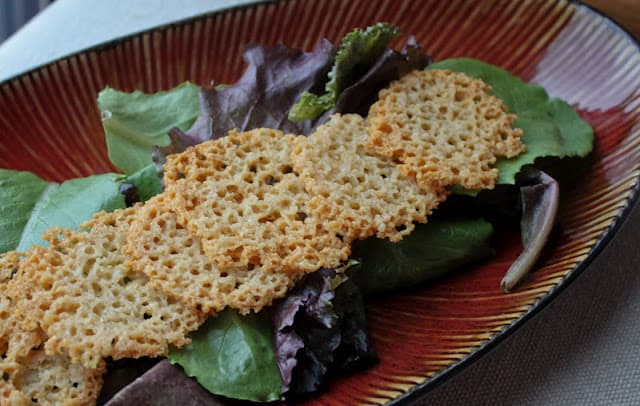
Parmesan Tuile
Adapted from Food & WineYou can make the recipe for this tuile far in advance (up to 4 days). Store them in an airtight container.
- 6 tablespoons finely shredded parmesan cheese
- 1 tablespoon unsalted butter or earth balance (vegan, oil-based alternative that works very well- I used it)
- 1 tablespoon whole wheat pastry flour (you can also sub in AP flour or whole wheat flour) + a bit more for dusting
- pinch of pepper
A tip about flour: If you don’t have flour in your kitchen, it can be a REAL pain having to buy a whole bag just for a stinking tablespoon! Check out any local co-ops or similar stores nearby, or Whole Foods, to see if you can buy flour in the bulk section. It’s quite common, and then you can get the exact amount you need, so you don’t have to waste any or spend much money.
Preheat oven to 400. Cut the butter into small pieces. With a fork, mix cheese, butter, flour, and pepper in a bowl. Once the mixture is beginning to form, use your hands to distribute the butter as evenly as possible and make sure that there are no chunks of butter in the mixture. Soon a dough will begin to form.

Take the dough out of the bowl and roll it into a single log (see picture below). Then cut the log into 10 even pieces. Don’t worry about making the log perfect–it is just the best way to cut the dough and get pieces that are relatively the same in size.

Take the pieces and flatten into discs. I found the easiest way for this was to place the piece in the palm on one hand and flatten it using the heel of your other palm. This way, the dough never cracked or separated and I was able to get the most circular shaped disc. (Also, you can experiment with other shapes if you want–circles aren’t necessary)

Place the discs on a well oiled/sprayed baking sheet and place in the oven on the lowest rack. I think my oven was running on the higher side, so my tuiles cooked quicker, but it only took about 4-5 minutes for them to be done. The tuiles will be bubbling viciously–DON’T WORRY! (which is what I initially did, thinking that the oven was too hot)–this is what should happen. They won’t stop bubbling until you take them out and then cool. To make this clear: they will not look like their final product when you take them out of the oven. They won’t appear solid, as they will be bubbling. The key is to take the tuiles out when they are golden.
Let the tuiles cool on the pan for about 3-5 minutes. With a spatula, transfer the tuiles to a paper towel to drain the excess oil. Then place on a plate.