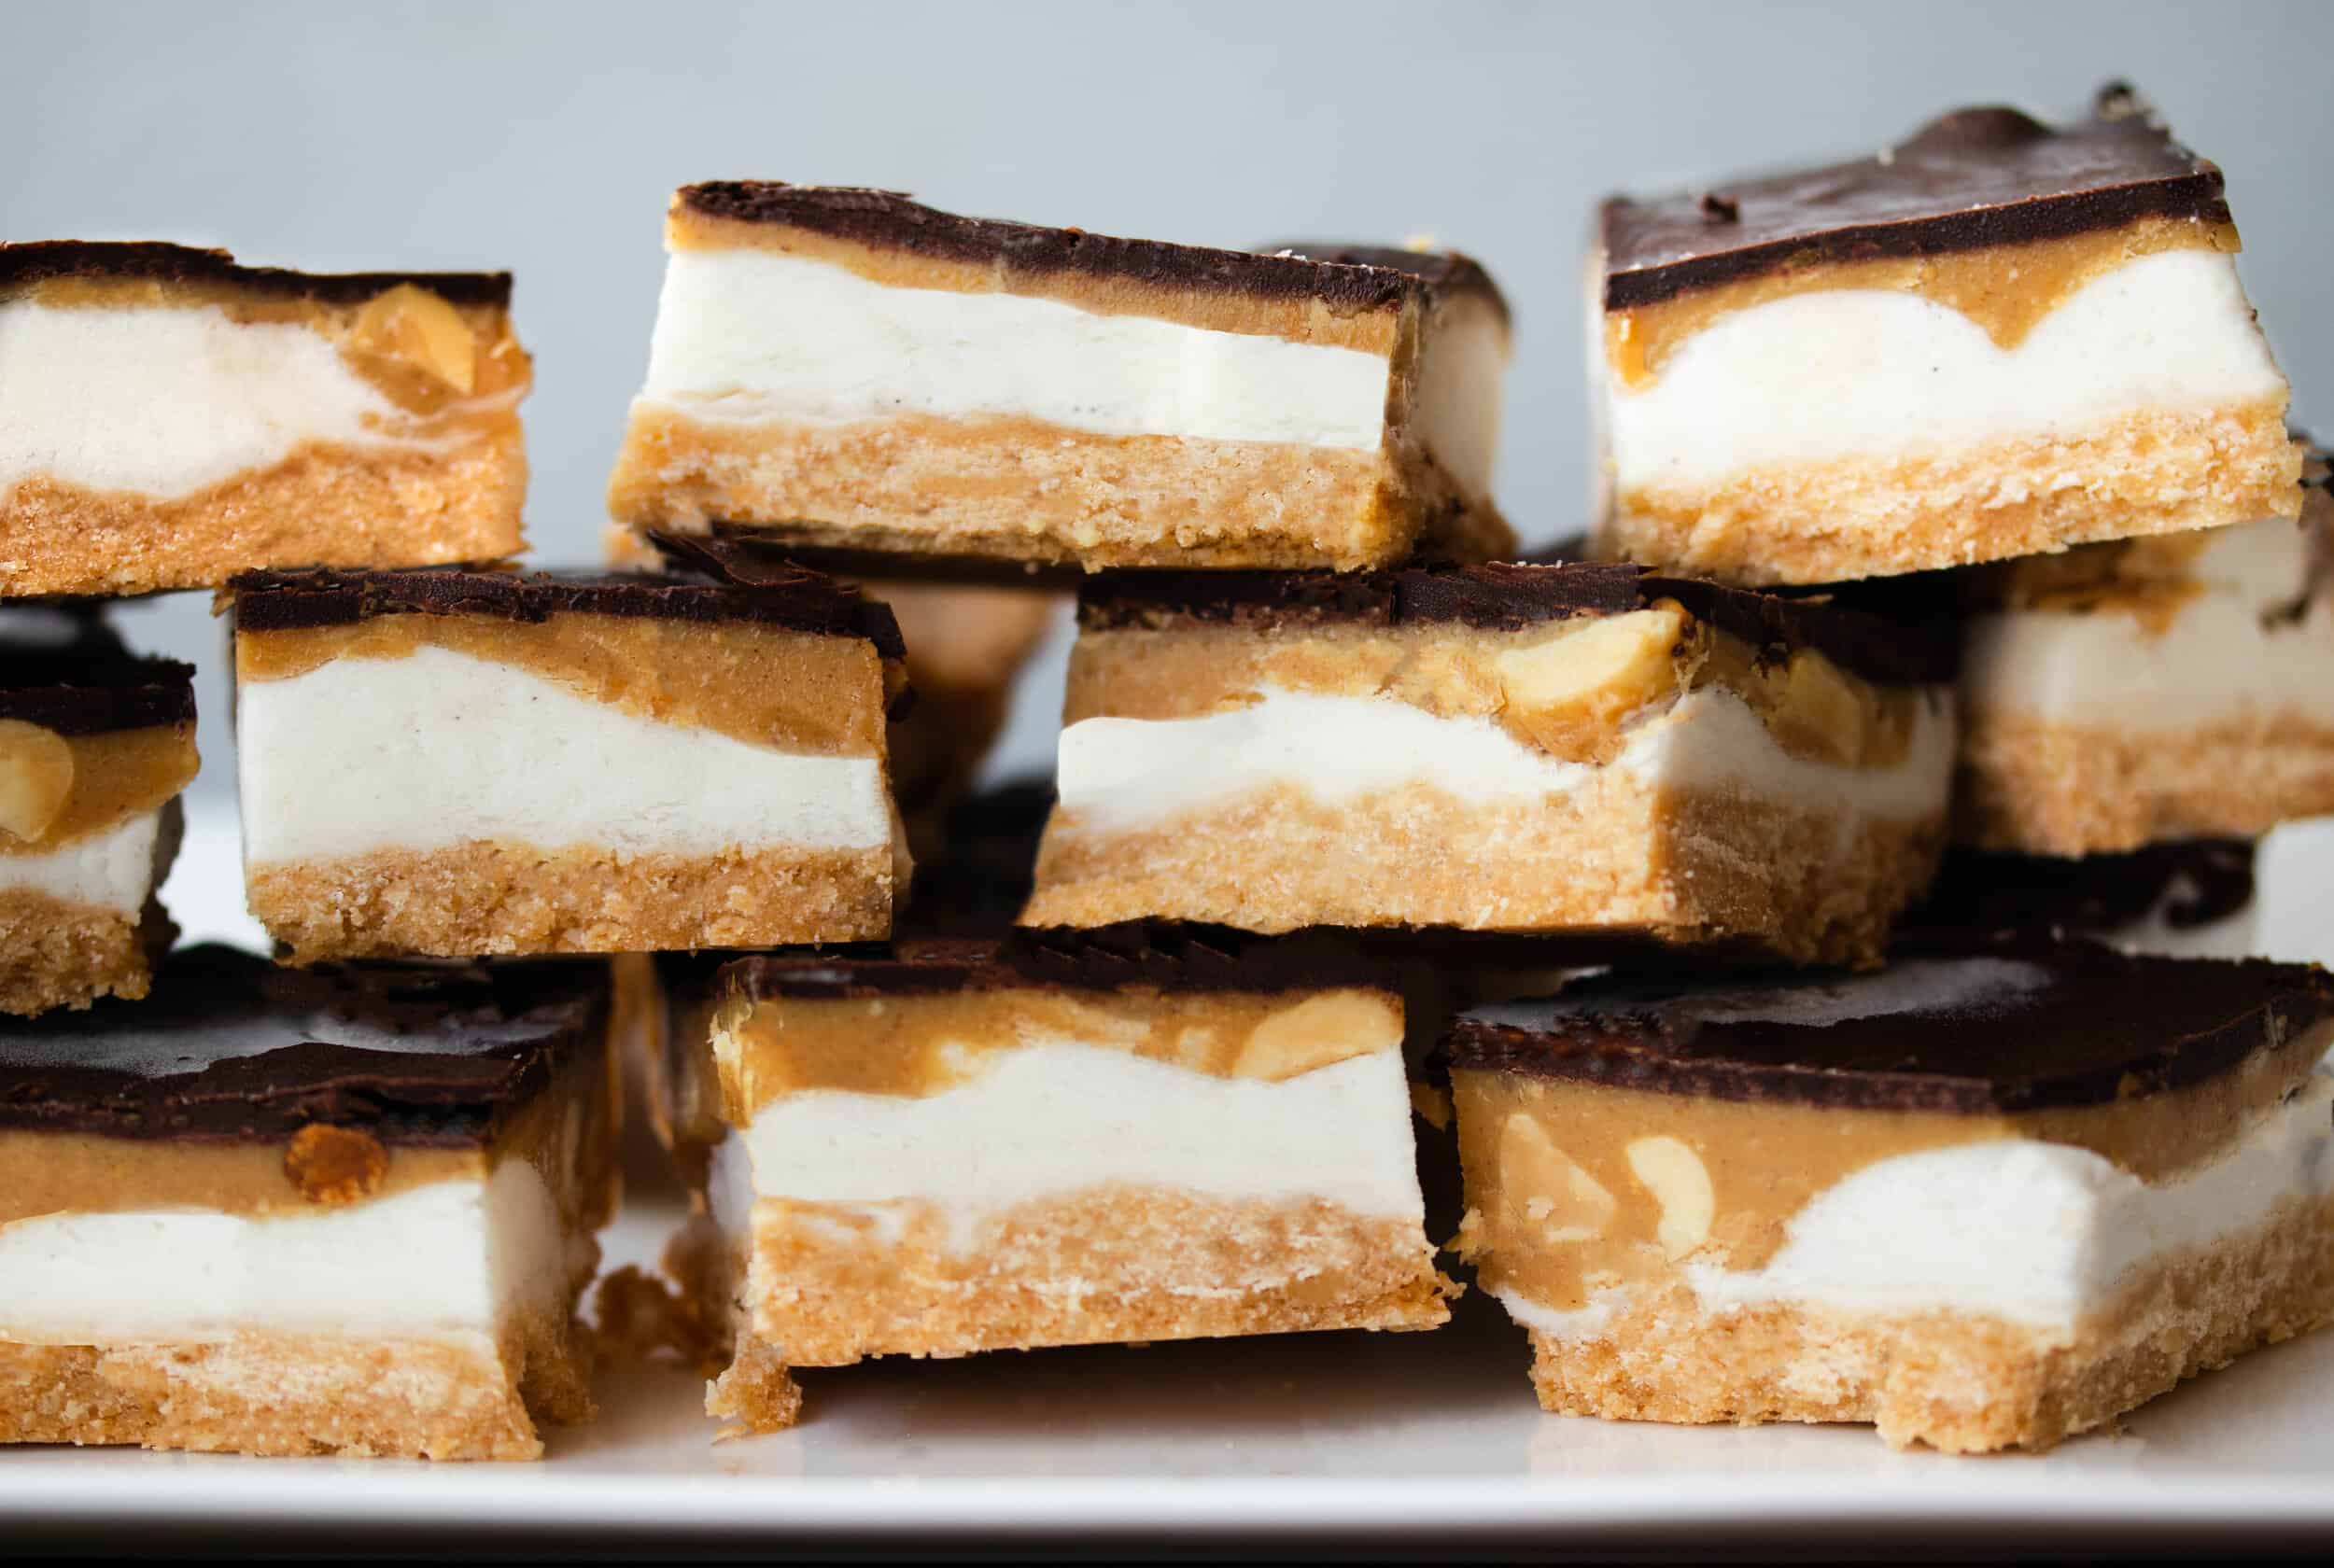

As it gets unbearable hot and humid, all I’m craving are ice cold desserts. While I often tend toward fruit-based ones, sometimes you just need some chocolate. These are a spin off on my previously posted twix bars. They are gluten-free, refined sugar-free, and vegan and will be a hit with anyone, regardless of their diet.
Adding a layer of ice cream just seemed like the obvious thing to do during this summer heat. It’s a deceptively simple step that requires minimal extra effort, and a big reward. I used So Delicious’ Coconut Milk-Based Ice Cream to keep these vegan and low-sugar (although any vanilla ice cream will do).
One of my favorite things about this dessert? You can store them in your freezer (for at least 2 weeks, up to a month), so you can stretch out and enjoy a big batch over time.
P.S. I played around with using Rx Nut Butters in the peanut butter layer this time. If you’re a fan of their flavor, this is a great place to use them and get an extra boost of protein!
Ice Cream Peanut Butter Twix Bars
Recipe Slightly Adapted From Rachael’s Good Eats
*You’ll notice that on the shortbread layer, I have three amounts listed. 1) In cup measurements, for those who don’t have a scale 2) In grams, for those who do have a scale- and then depending on what size pan you are using. I did the recipe a few times and found that the initial amounts were just a little on the short side to fill up my 9’’ square pan, so I have both listed here.
Shortbread Layer:
-
1/2 cup almond flour (8’’ pan: 50g) (9’’ pan: 60g)
-
1/2 cup coconut flour (8’’ pan: 56g) (9’’ pan: 68g)
-
pinch sea salt
-
1/3 cup coconut oil, melted (8’’ pan: 55g) (9’’ pan: 65g)
-
2 tablespoons raw honey, warmed (44g)
1. In a medium bowl, combine flours and sea salt. Stir to combine. Pour in coconut oil and honey and “whisk” using a small fork until it is thoroughly mixed. It should be fairly oily to the touch.
2. Using your hands, press mixture into bottom of 8’’ or 9’’ square pan that is lined with parchment paper. Bake for 12-14 min until light golden brown. Let cool before adding next layer. Sometimes I’ll place this in the fridge after a few minutes to speed up the cooling.
Ice Cream Layer:
-
1 pint vanilla ice cream
-
Take out the ice cream as soon as the shortbread layer is done in the oven. The ice cream will need to soften to be spreadable, which will take a good 15-20 minutes.
-
Be sure that your shortbread layer is completely cool before placing on ice cream, or it will turn messy quickly. Using a large spoon or offset spatula, spread ice cream onto shortbread in as even of a layer as possible. Immediately place in freezer to harden for at least 30 minutes.
Caramel Layer:
-
1/2 cup + 1 tablespoon nut butter of your choice (almond, peanut butter, cashew or a combination) (142g)
-
3 tablespoons coconut oil (42g) (warmed, liquified* see note below)
-
1/2 teaspoon vanilla (1g)
-
pinch sea salt
-
SWEETENER OPTIONS:
-
1/4 cup maple syrup or honey (50g) – If you’re not watching sugar super closely or making this for others, this is the option I’d do.
-
You could try using coconut sugar, stevia, or monkfruit here. This layer is more forgiving in that sugar is not needed for a specific texture or consistency, so you can try different sweeteners. I recommend tasting as you go to check the sweetness. If using solid sweeteners, you will need to add another tablespoon or so of coconut oil (14g)
-
To throughly mix the nut butter with all the other ingredients, the coconut butter needs to be liquified. You can liquify it using the microwave or on a stovetop. I personally like the microwave because it is easier and I can use the same bowl I used for the first layer (less cleaning). About 20-30 seconds usually does the trick.
-
Add all ingredients into bowl and whisk to combine using as a small fork.
-
Pour mixture over shortbread. Tilt the pan to make sure it is evenly spread out.
-
Place in freezer for this to slightly harden, about 30-60 minutes.
Chocolate Layer:
-
4 ounces chocolate (113g) dark chocolate lily bar or chocolate chips
-
1 tablespoon (14g) coconut oil
-
optional: flaky sea salt for topping
Like above, this can be done using a double boiler on the stovetop. I personally like using the microwave for ease.
-
Place chocolate chips and coconut oil in a bowl. Put bowl in microwave at 50% and microwave in increments of 30-45 seconds, stirring after each increment, until chocolate chips are melted. This usually will take about 3 times. It’s important to have the microwave on half power because otherwise the chocolate can burn.
-
Pour chocolate on top of peanut butter layer . Optional: Add flaky sea salt on top.
-
Freeze for a few minutes until hardened.
-
Cut into 1’’ bars and serve immediately or place in freezer- they will last up to a month.