I know I’m all about monster salads, but there’s a new kid on the block that I’m introducing with this Corn, Snap Pea, & Burrata Salad: DINNER SALADS.
What do I mean by dinner salads? A super simple salad to have on the side with dinner that only has a handful of ingredients (I’ll be honest, my monster salads can have a lot) and a “vinaigrette” that can be made on the spot by hand. It’s a perfect way to add in some produce, color, and texture to a meal and in my opinion, it’s the best way to showcase perfectly ripe summer produce right now.
Behind the Recipe: Corn, Snap Pea, & Burrata Salad
- Sugar snap peas: This Corn, Snap Pea, & Burrata Salad requires a bit more than the other ones I’ve been doing because of the blanching of the snap peas, but blanching them will intensify their flavor, take out that somewhat raw texture, and is worth the extra 10 minutes. See below for some tips on efficiency and how to make that extra step really worth it.
- Corn: As for the corn, there are so many options! Keep it raw, grill, or broil it. I personally like a bit of char on the corn for extra flavor and texture, but if pressed for time, just add it in raw. If you’ve never had raw corn before, give it a go. It’s super fresh and sweet.
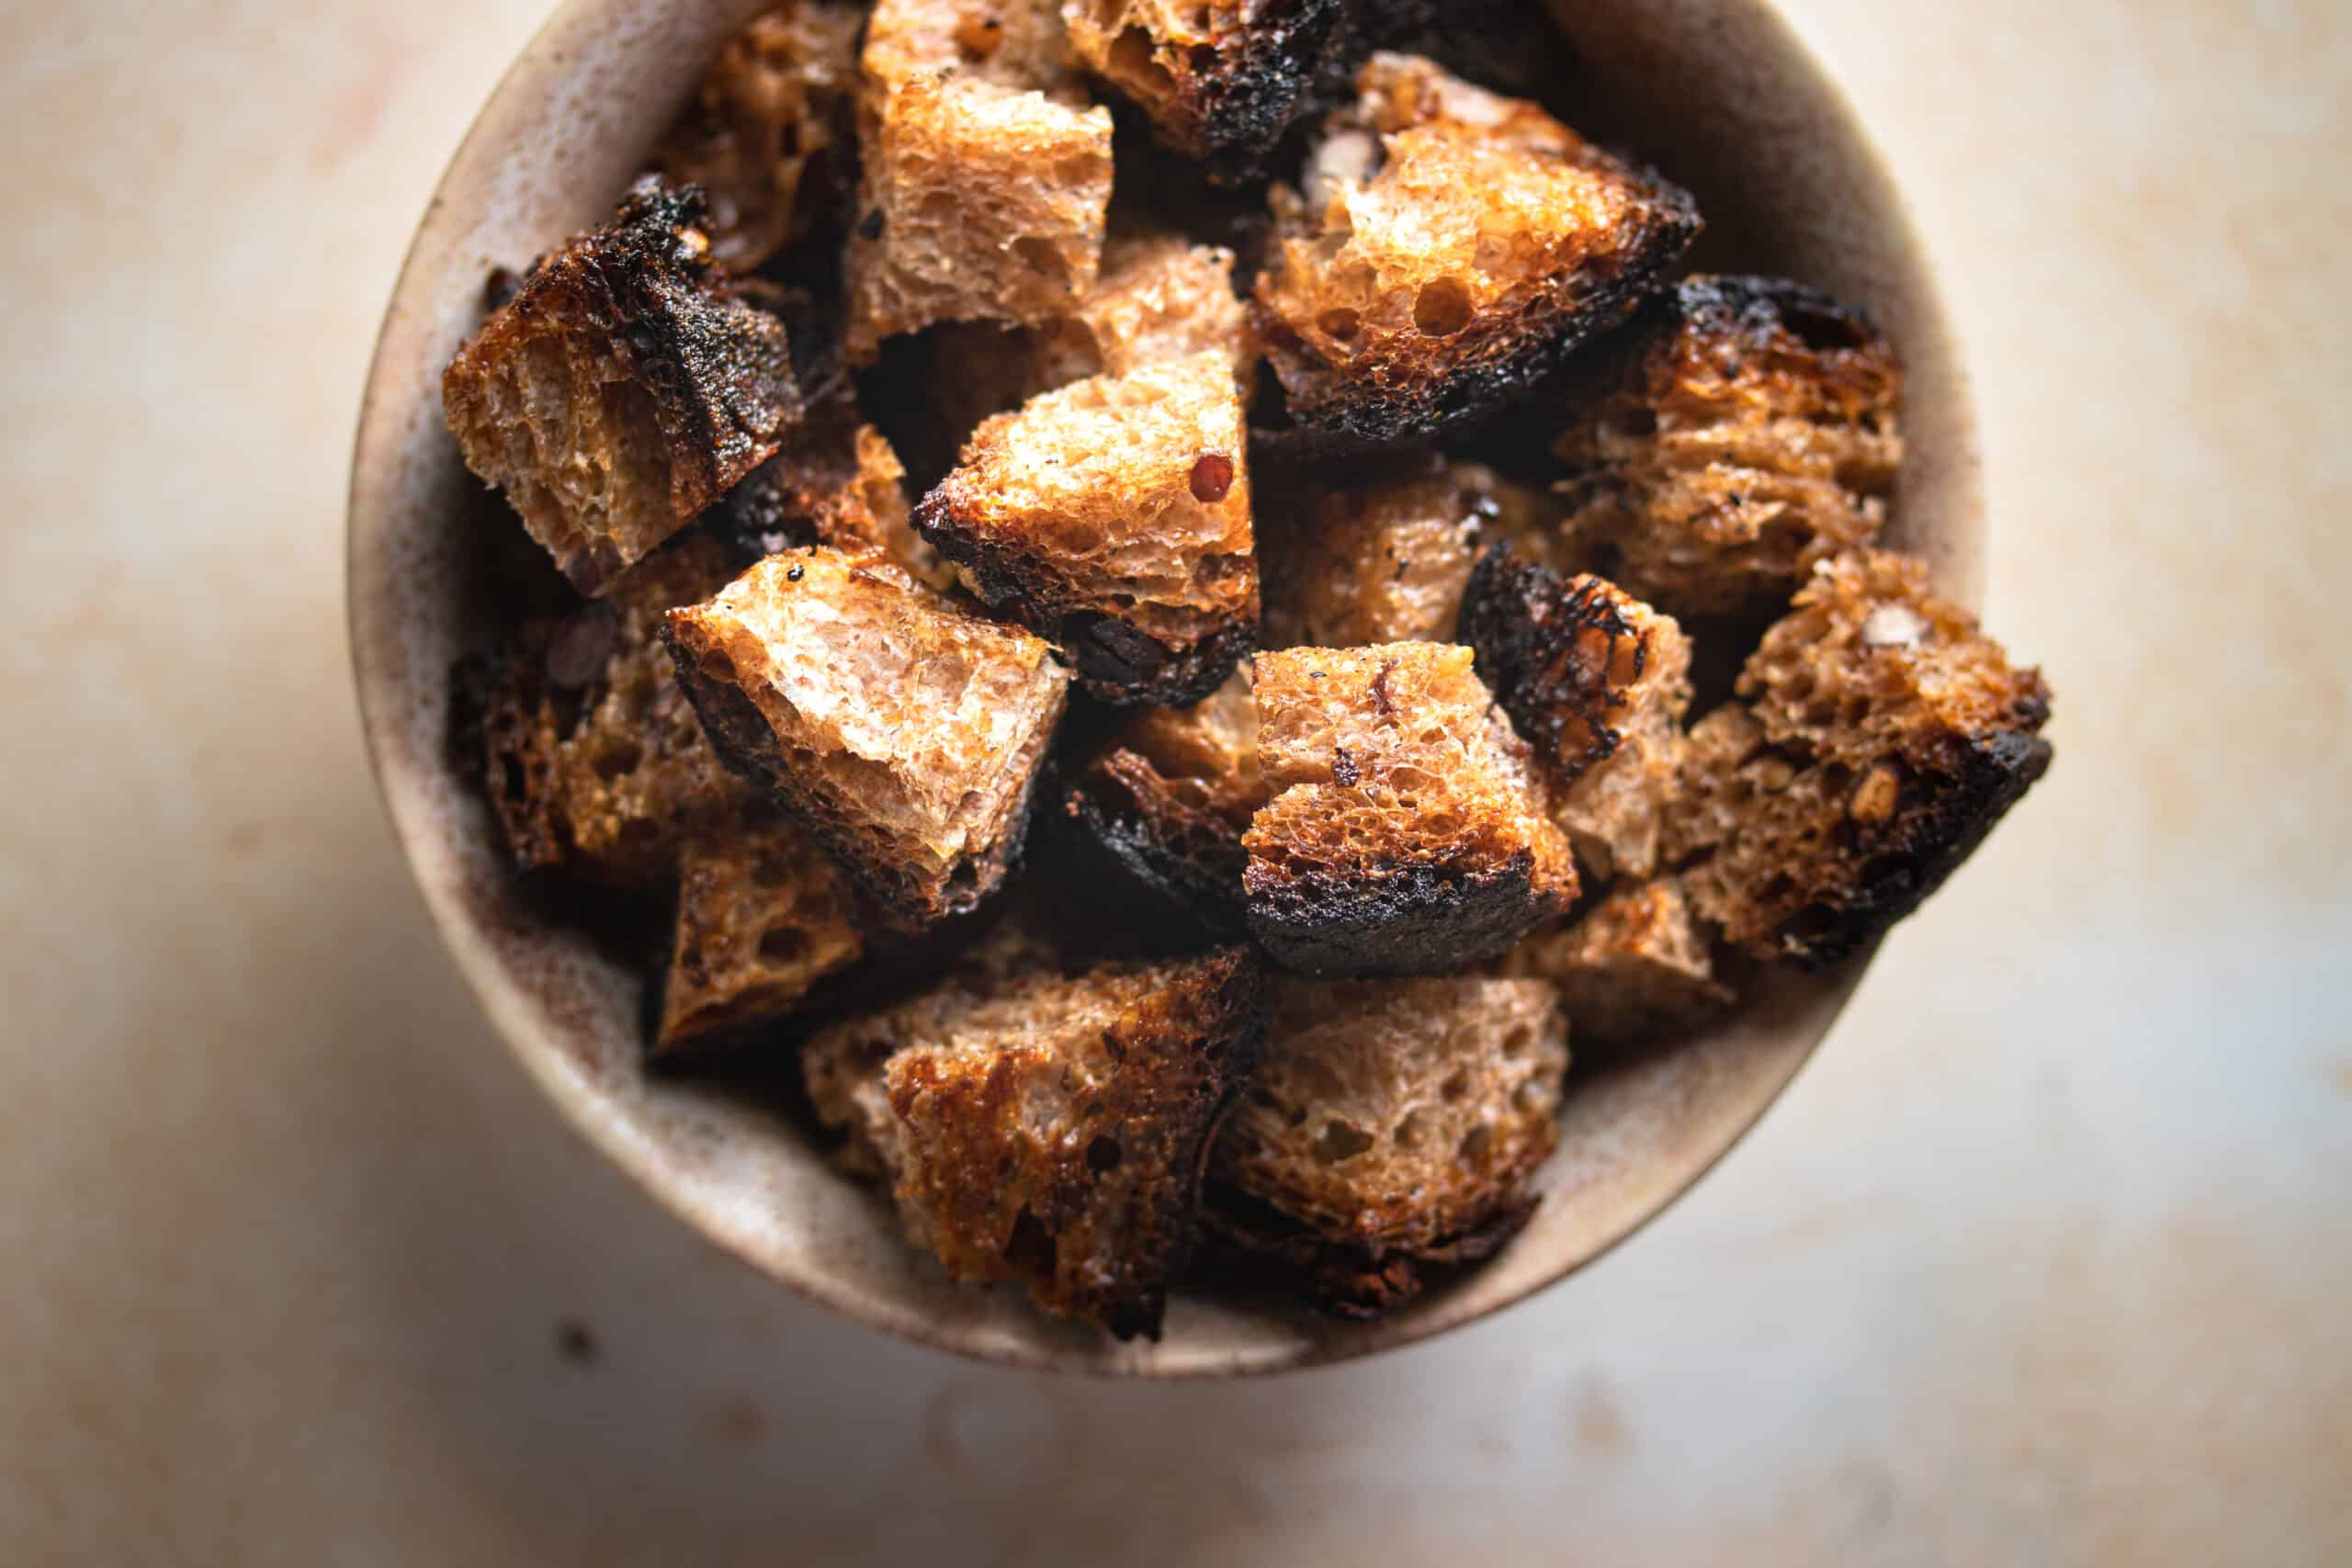
- The toasted bread and burrata– so key to balancing out flavors! The bread adds a slightly smoky and charred texture and the burrata adds a creaminess that helps contrast the sweetness of the corn, tomatoes, and snap peas.
How to make the extra step of blanching worth your time:
- Do a big batch. Don’t just do a batch for this Corn, Snap Pea, & Burrata Salad, but instead do a large batch and then have them on hand for a few days. Toss them in salads or have them as a snack.
- How to store them: Store them in the fridge in an airtight container and make sure they don’t have excess water on them.
- Pair this with another item that also needs salted boiling water: When making this salad, I will try to pair this with pasta or orzo, since I already have a pot of boiling water going- all about efficiency!
- Blanch another veggie. You already have the salted boiling water, why not blanch something else? Other veggies that are great blanched are green beans, collard greens (for wraps), and asparagus.
- OKAY… If you really want to shortcut it: If you’re really pressed for time and just can’t get around to blanching, I highly recommend getting sugar snap peas from Trader Joe’s that come right in the bag, ready to microwave (IN THE BAG!). To keep them on the crisper side, microwave them for about 2 minutes less than what is recommended on the bag. I know it’s a bit odd to have such a specific item/grocery store, but they have the best ones in my opinion.
Got the blanching method down? Here are two of my other favorite salads that include this method:
Feeling the salad Inso? Tag me and use the hashtag #katecooks for any of your own monster or dinner salads so I can see them!
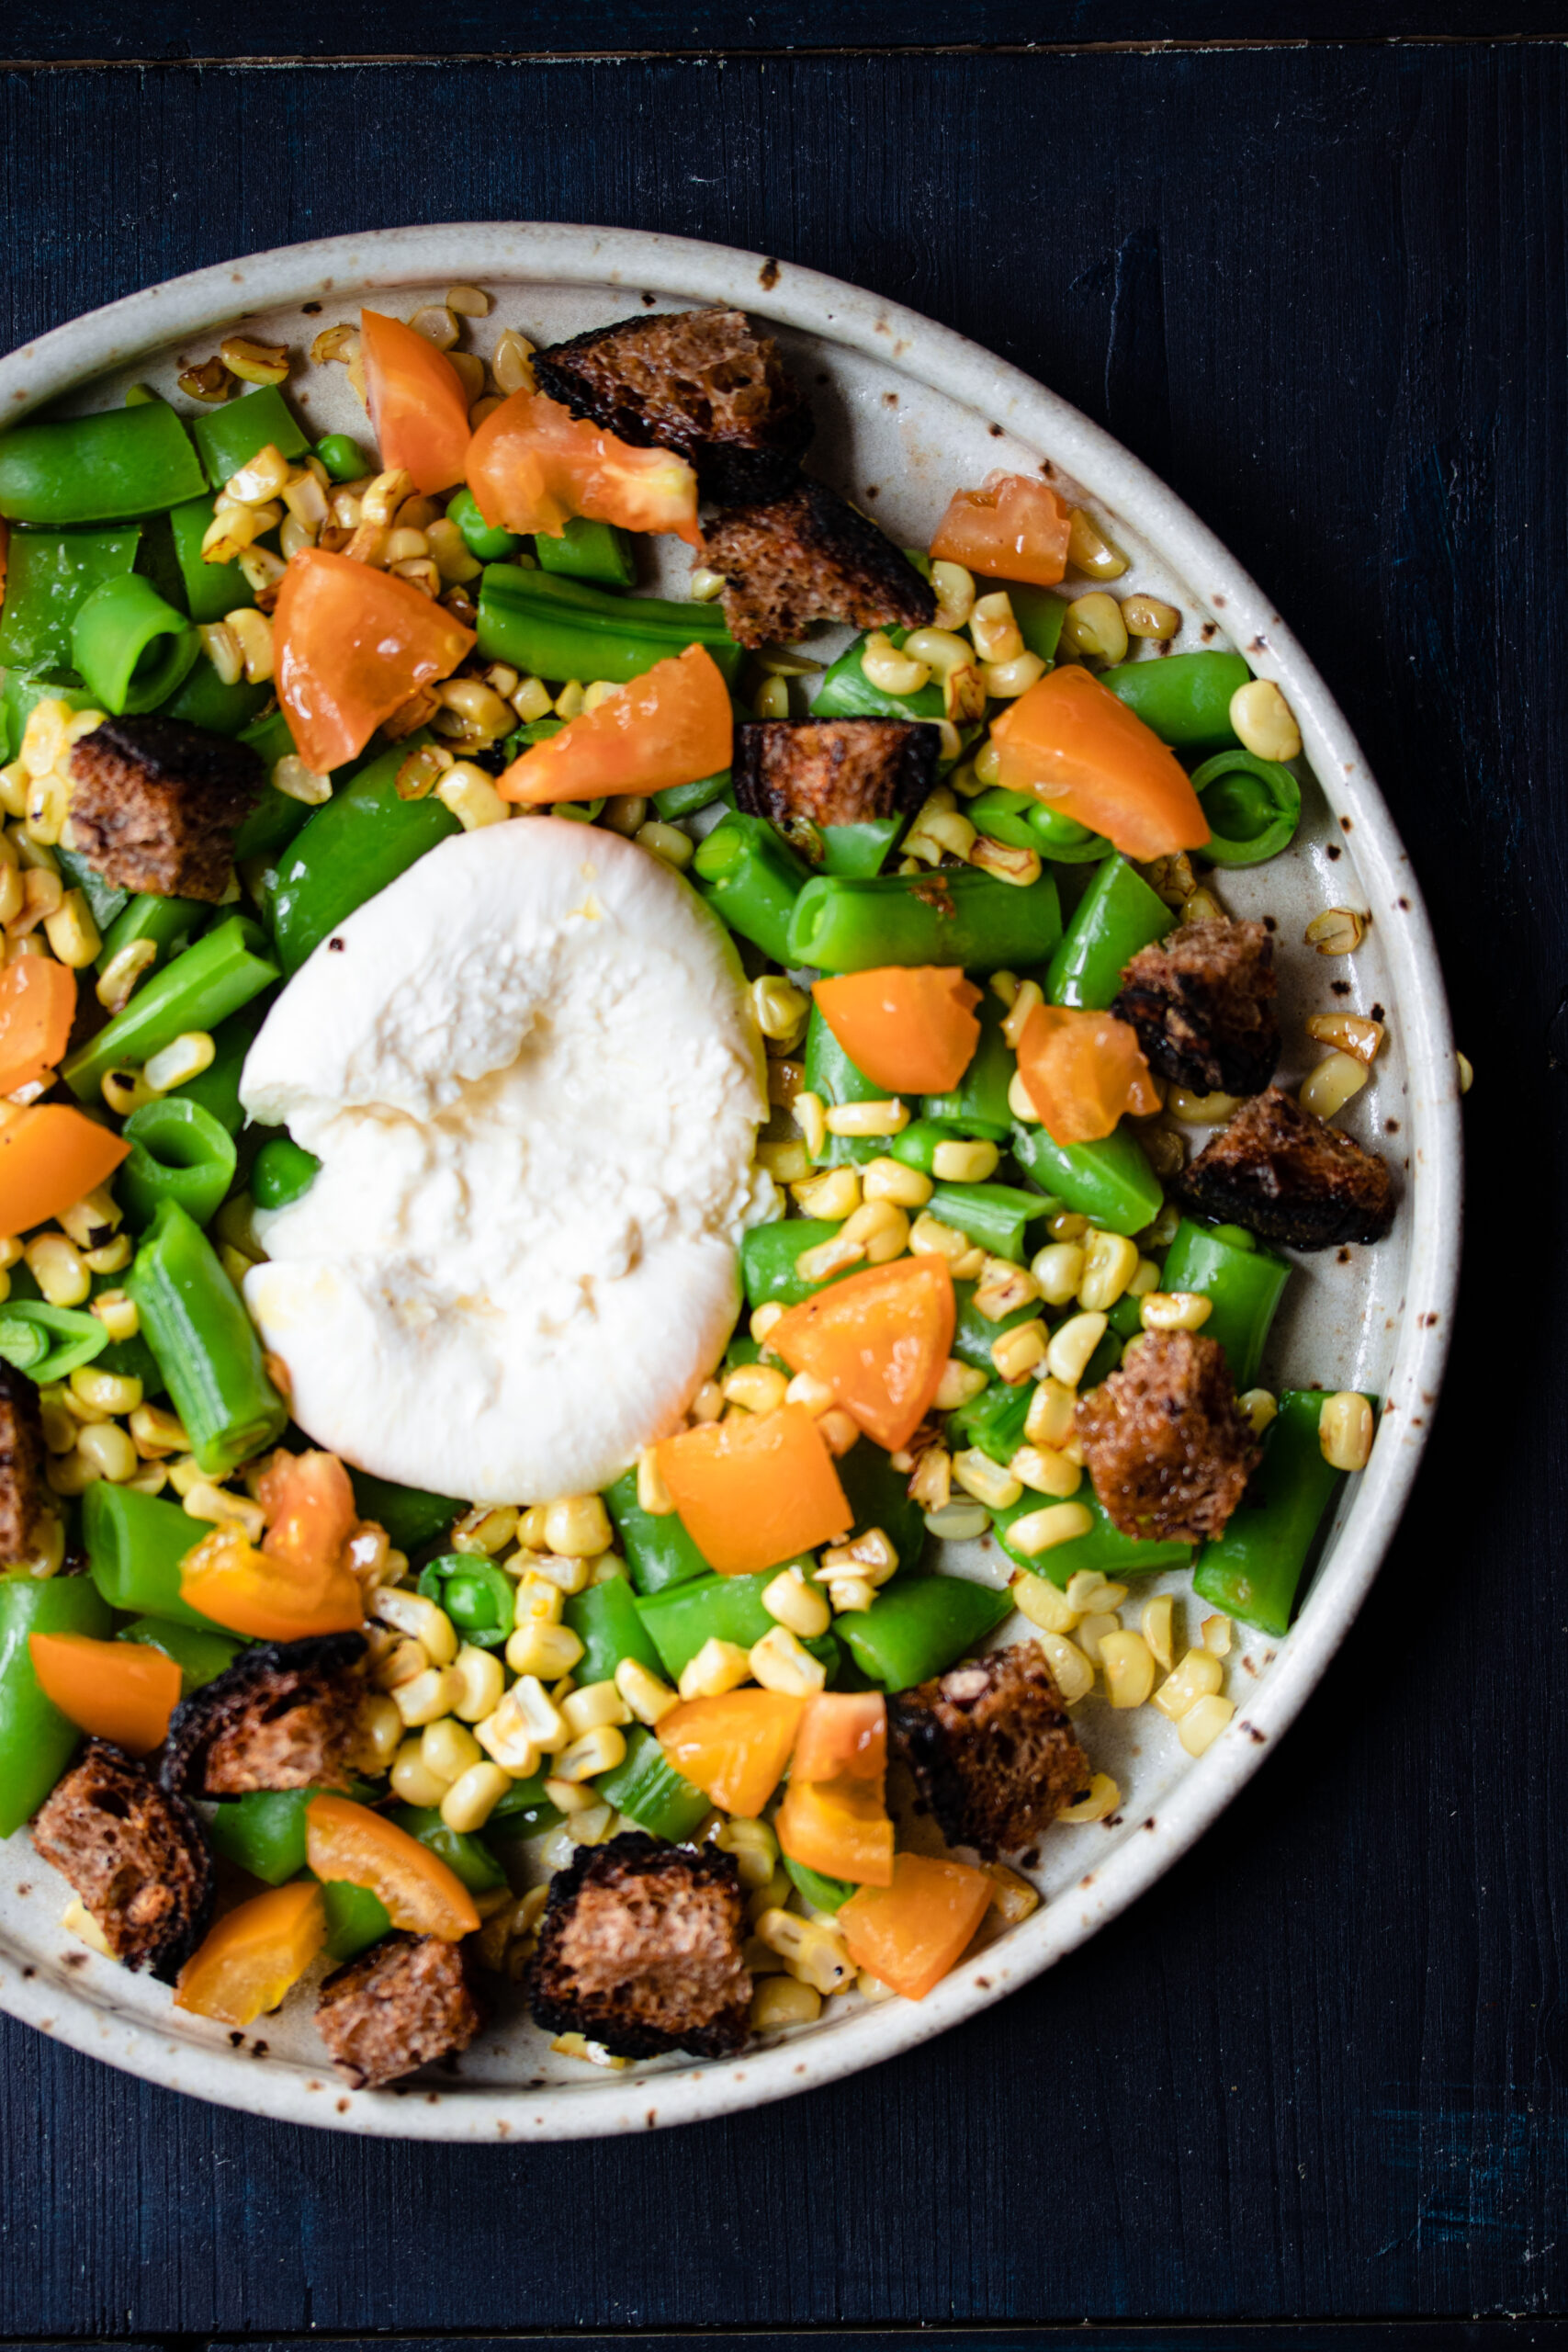
Corn, Snap Pea & Burrata Salad
Summer at its finest.
- 1 ear corn, , husked
- 1 cup sugar snap peas, , trimmed
- 1/2 cup toasted bread cubes, (see recipe below)
- 1 medium yellow tomato, , diced into large cubes
- 4 ounces burrata
- flaky sea salt
- extra virgin olive oil, , for topping (use your best!)
Grill/Broil the Corn
- 1. Lightly oil the ear of corn and either put it on the grill or in the broiler (about 4'' away from top) for about 7 minutes, turning halfway through. You can also use raw corn or fire roasted corn to skip this step.
Blanch the snap peas
- Fill a small to medium sauce pot 3/4 of the way full with water. Generously season with salt. Once boiling, add in trimmed snap peas and boil until vibrant green and just a little bendy, about 2 minutes. Immediately run under the coldest water possible under cold, or put in a ice bath (the more formal way, but I think running under cold water works just fine).
Assemble the Salad
- Arrange corn, snap peas, tomato, and toasted bread on a plate. Add burrata to the center. Sprinkle with sea salt and top with a pour of olive oil.
Tried this recipe?Mention @Kate_Cooks_ or tag #katecooks!