
This recipe has been on repeat for the last month or so in our household. I can’t get enough of it. Normally we do Pizza Fridays every week, but this Healthyish Kale & Cheese Pizza is so good that we’ve slowly been incorporating in Pizza Mondays, Thursdays, and Sundays. A high protein crust thanks to some skyr and toppings that meet the mark in both flavor and nutrition.
Once you’ve made this once or twice, you’ll see how incredibly easy and flexible this recipe is. I actually find it quite therapeutic because of its simplicity. Yes, it’s truly therapeutic. How do I know? I was totally game and actually enjoyed making this after a 5 hour flight home one weekend.
Behind the Recipe: Healthyish Kale & Cheese Pizza
As far as the cheese and greens go, take this recipe as a template to make your own. I’ve made this with just brussels sprouts, just kale, and just broccolini. I’ve also combined them in different variations (although I’ve never done all three). If using kale, I highly recommend using Lacinato Kale, because I think it’s the most palatable and sautes the best.
To prepare the kale, remove the tough stems by pulling them off with your hands. Then bunch the leaves together and cut into ribbons. To prepare the brussels sprouts, you can buy them pre-shredded (they have them at Whole Foods and Trader Joes) or you can shred your own using the grater attachment in a food processor. To prepare the broccolini, just cut into bite size pieces.
This pizza blend cheese is currently my new obsession and I highly recommend it. However, if you can’t find it, you can just do a combination of shredded mozzarella and provolone cheese. Getting two types of cheeses is 100% worth it for flavor. Trust me. It just adds so much complexity.
Making Your Own Pizza Dough: Yes you can
This pizza dough recipe is probably the recipe I’ve made most on this whole blog. I’ve made it at least 50 times, give or take. You can make it in a standing mixer, food processor, or by hand. My preference is the standing mixer if you have it, but if not- no worries. I’ve recently updated it to take into account the same variations/differences I now do based on doing it so many times.
You can make this dough ahead of time (up to 1-3 days in advance; just store in fridge) and it takes about 10 total minutes to do. 100% WORTH IT. Get all the detail about this recipe here.
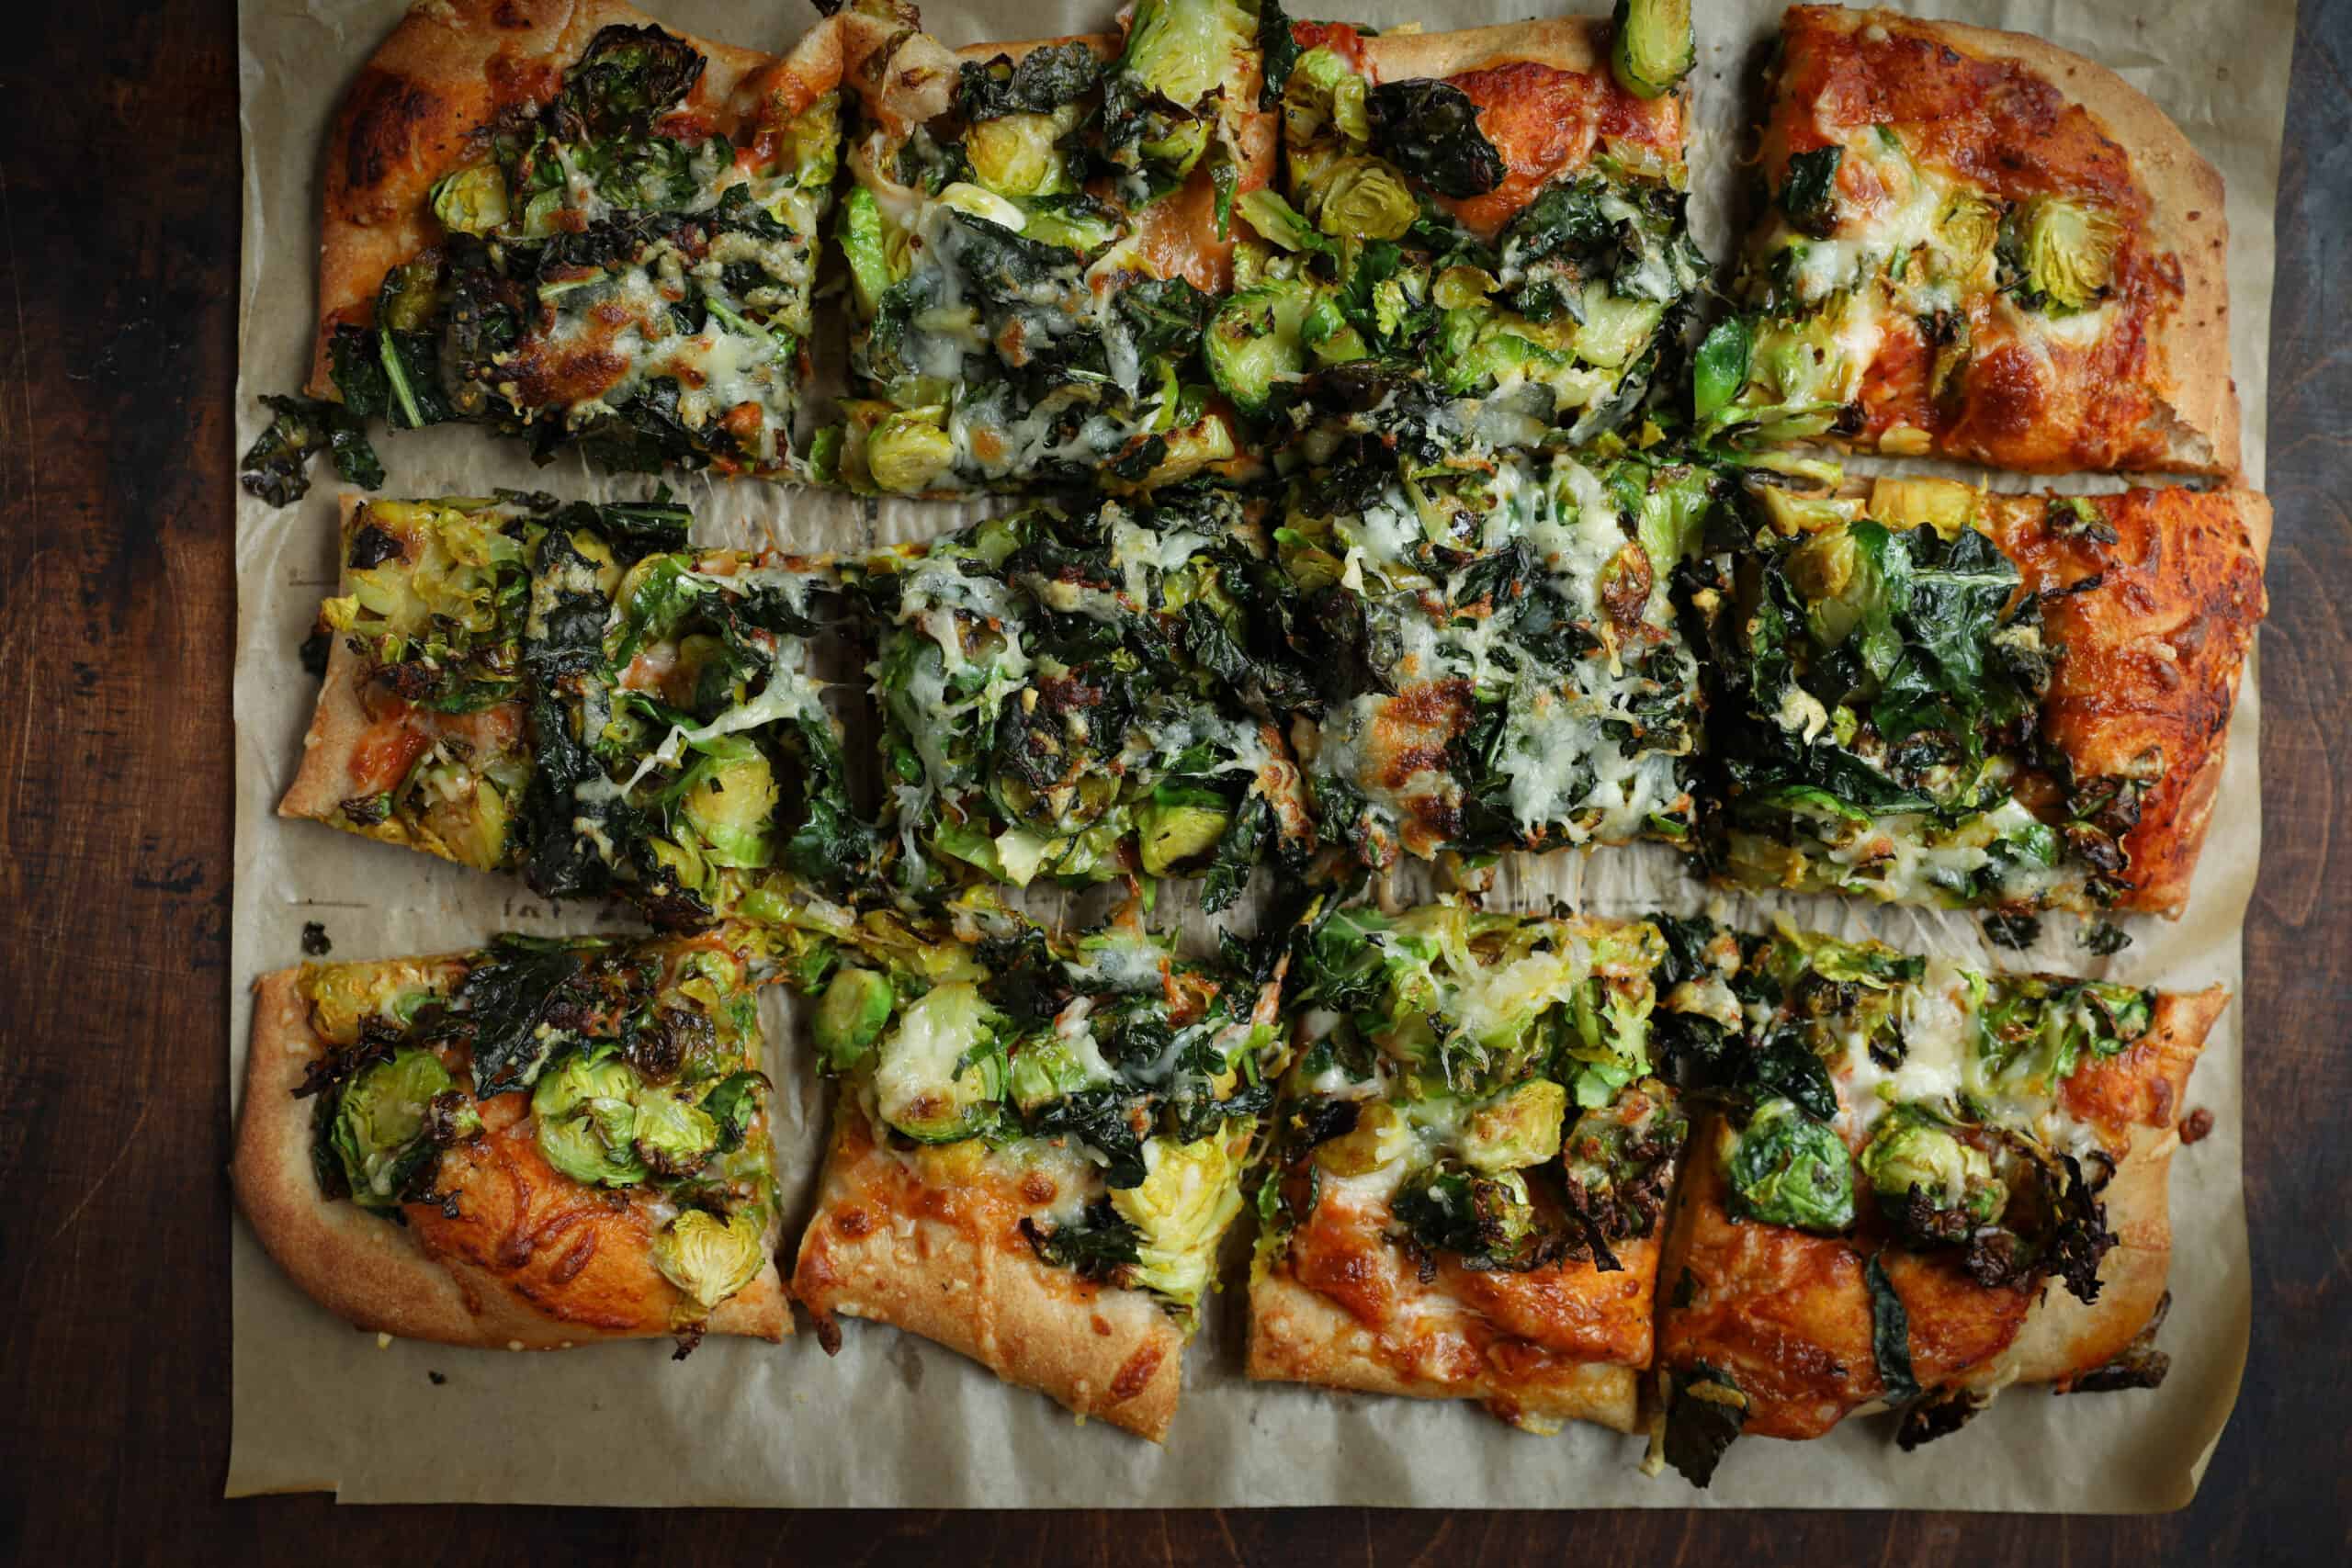
Healthyish Kale & Cheese Pizza
- 1 pizza dough , (see below)
- 1-2 tablespoons extra virgin olive oil
- 1 bunch Lacinato kale, cut into ribbons
- 1 bunch broccolini or 6 ounces shredded brussels sprouts, (broccolini- chop; brussels sprouts- you can buy pre-shredded or shred in food processor)
- 1 cup whole foods pizza blend shredded cheese, ( a combination of mozzarella, provolone, and asiago)
- 3/4 cup pizza sauce, (I like Whole Foods 365 Brand or Rao's)
- diamond kosher salt (if using any other salt, use half the amount), to taste
- Preheat oven to 475.
- Heat a large nonstick or cast iron skillet over medium heat (if using cast iron you may need more oil). Add in extra virgin olive oil and kale. If using brussels sprouts, add them at this point too; if using broccolini, wait until kale is wilted before adding in. Saute over low to medium heat until completely wilted and just beginning to brown, about 15 minutes.
- Roll out pizza dough into a large rectangle to fit onto a baking sheet with just a bit of space along the border/edge. Place on baking sheet (unless using baking steel- see more above). Spoon sauce onto pizza dough. Add half of the cheese, followed by all of the sauteed greens, followed by the rest of the cheese. Lightly season with salt.
- Bake for about 8-15 minutes, until crust is golden brown and cheese is fully melted and just beginning to brown.*This is a large range due to variance in ovens. In our old apartment, not using a baking steel, it would take about 12-15 minutes. In our new house, using a baking steel, it takes about 8 minutes.

So, so, so so so so good!!!!